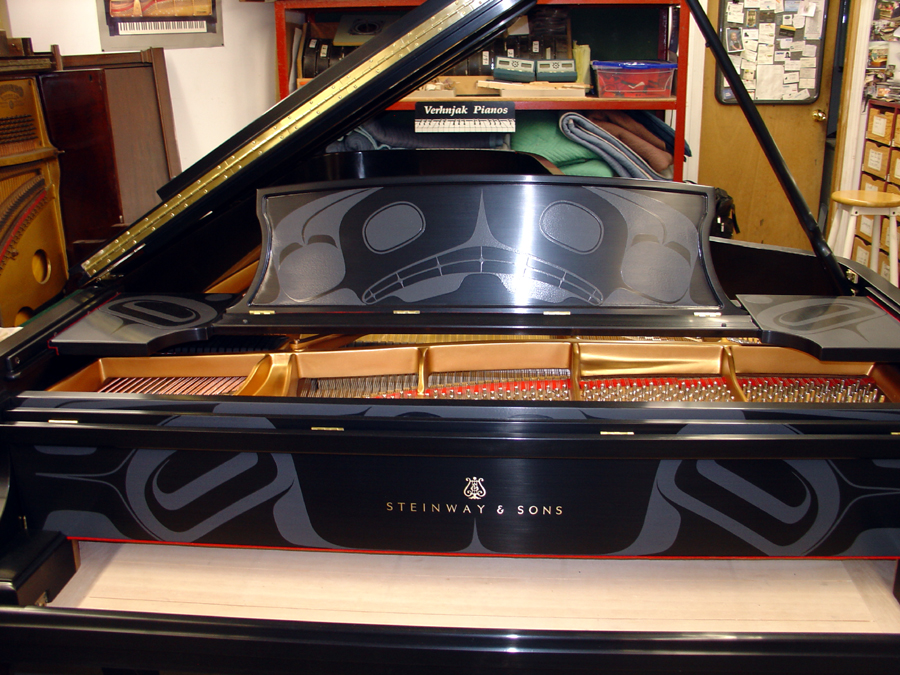
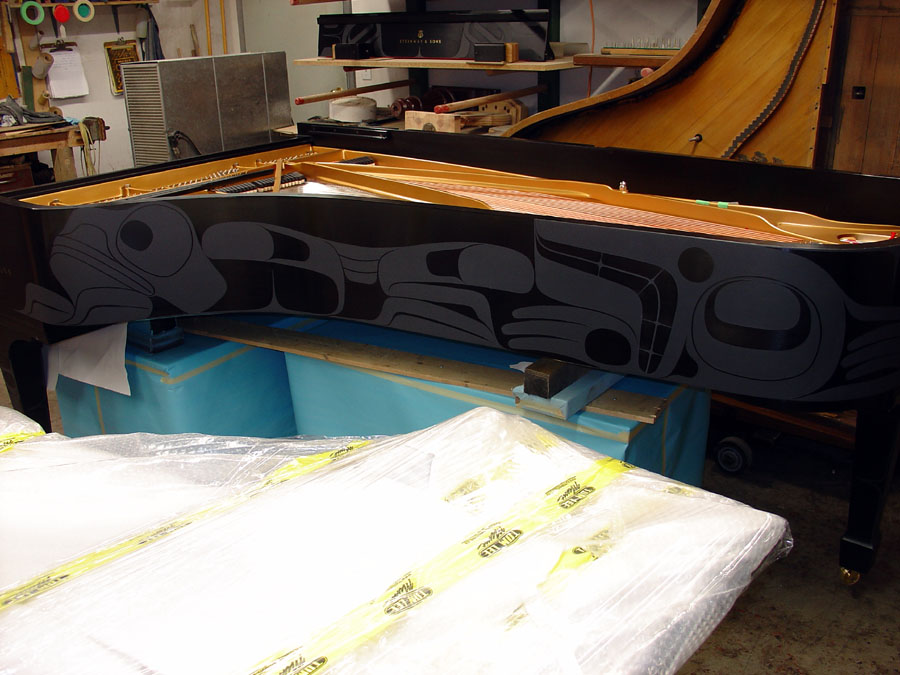
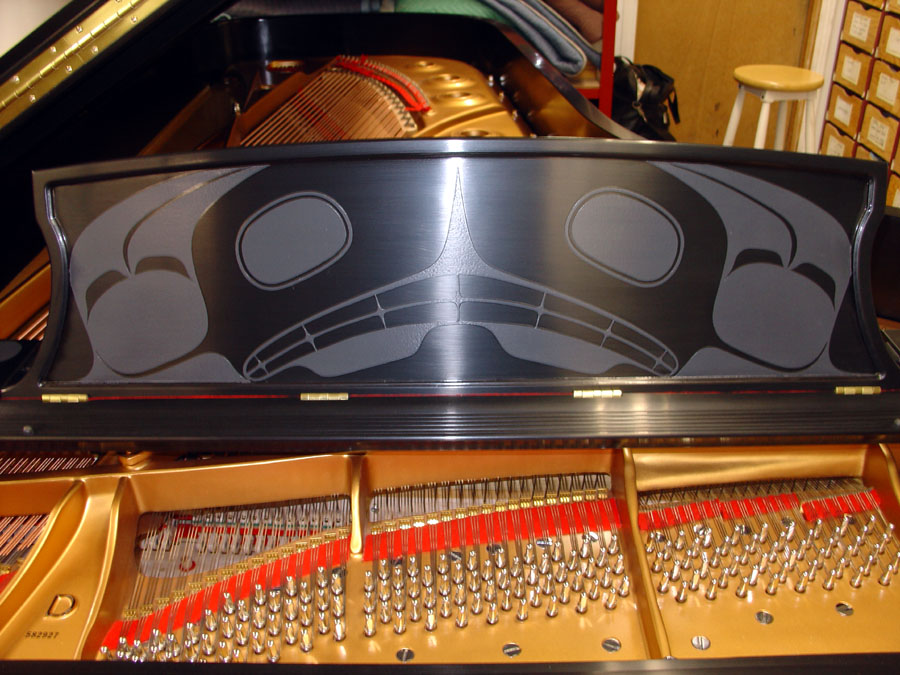
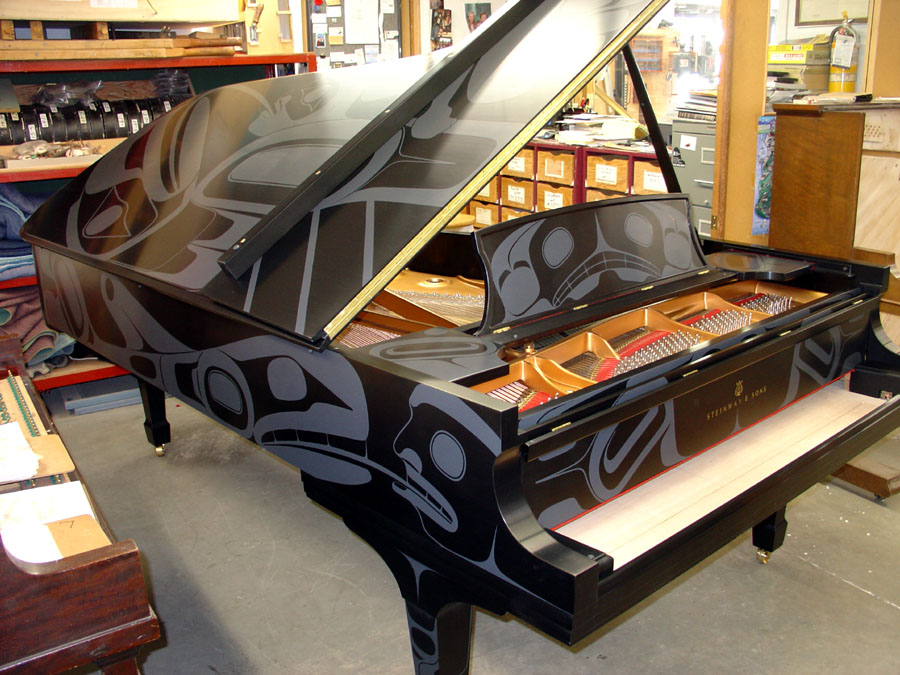
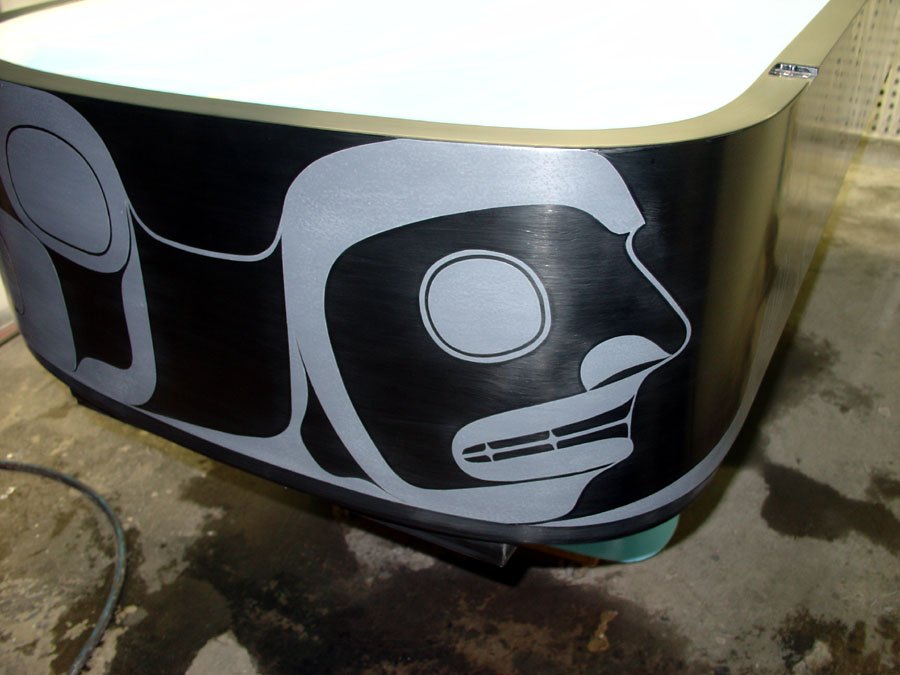
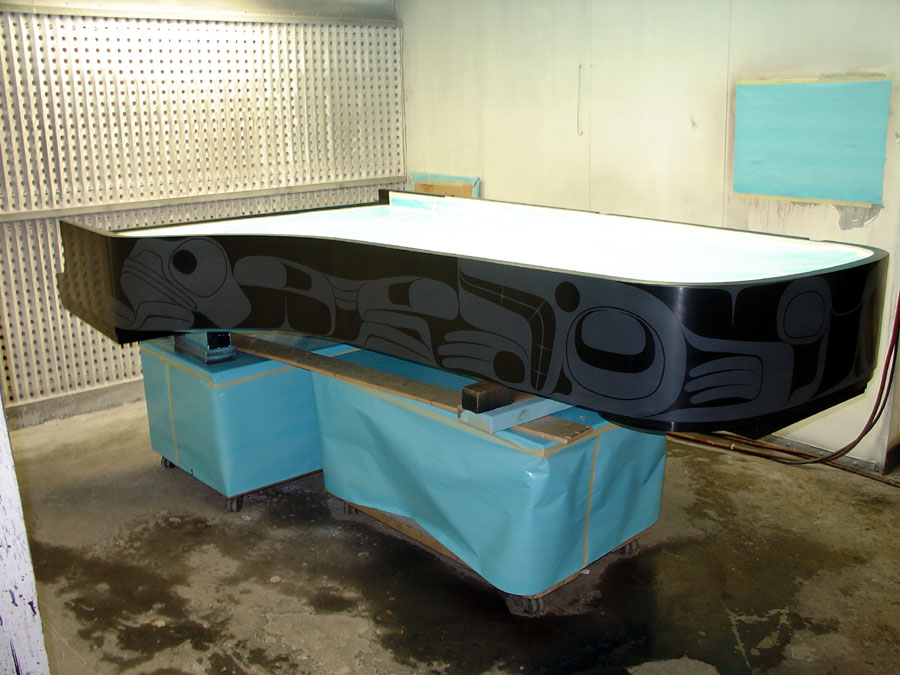
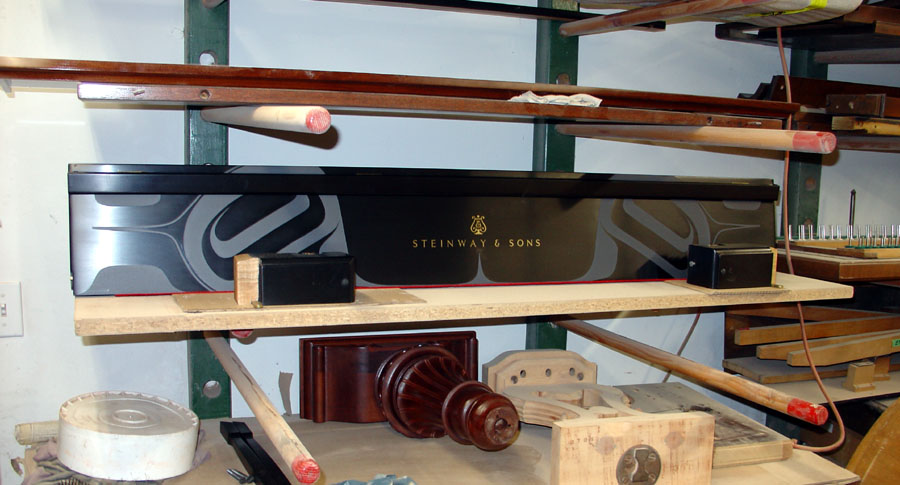
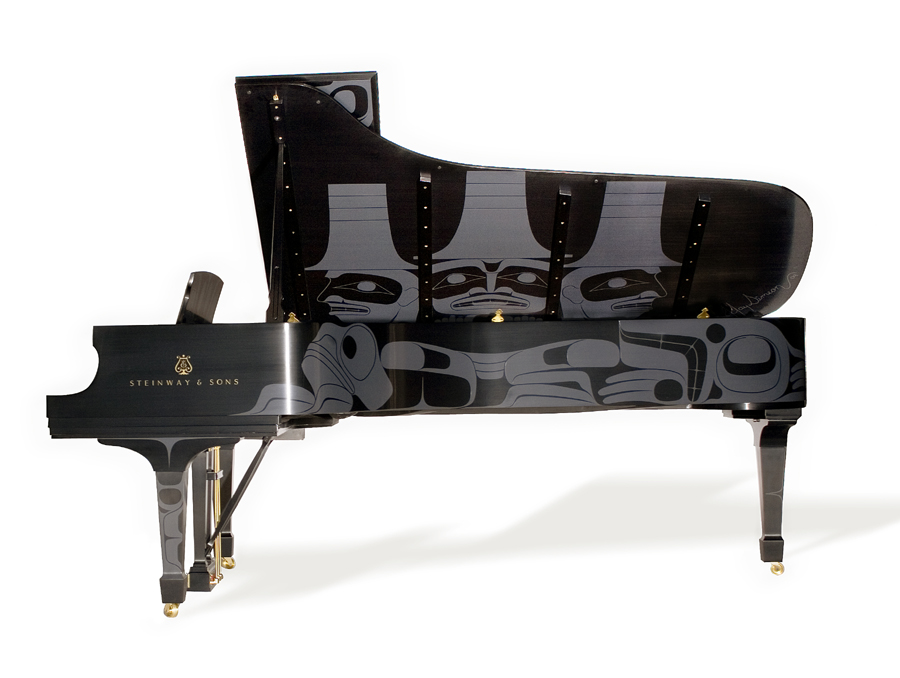
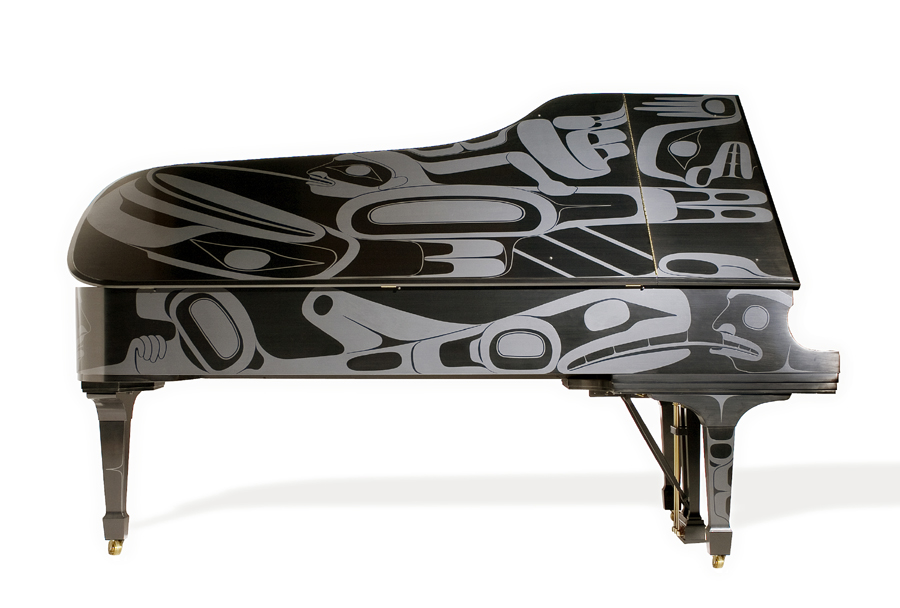
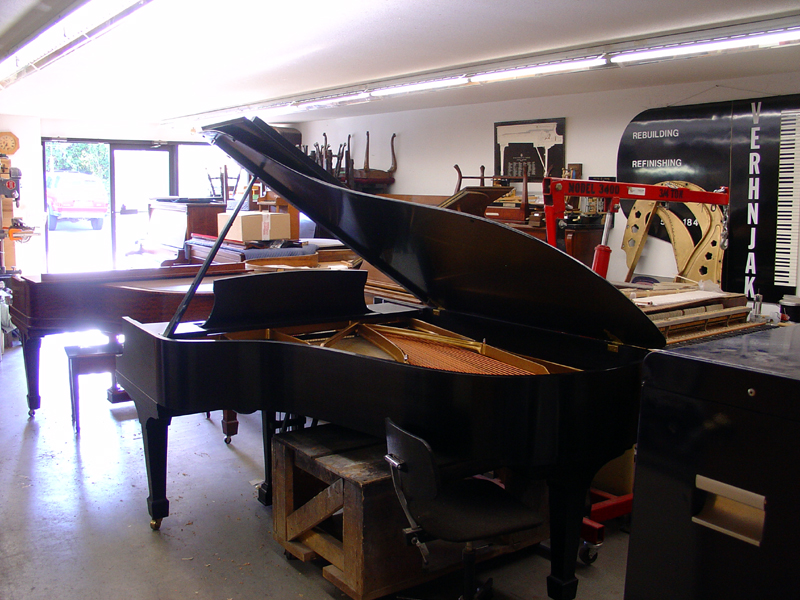
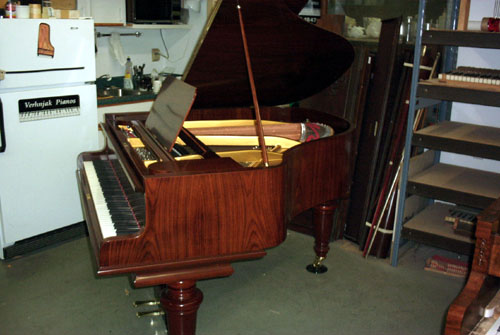
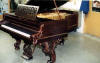
In 2009 we were hired to detail and apply the finish on this
special Steinway Model "D"
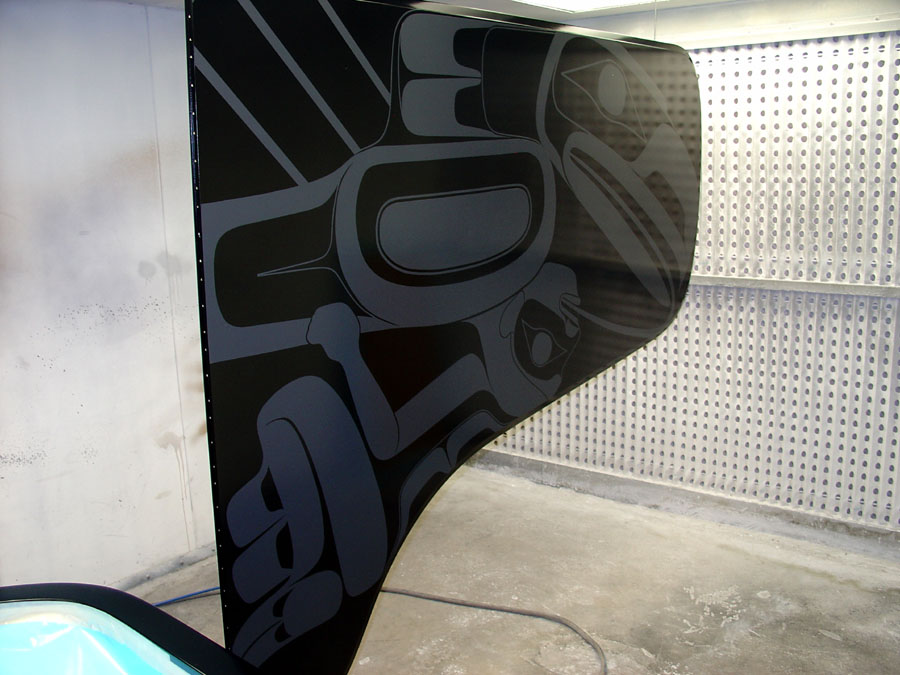
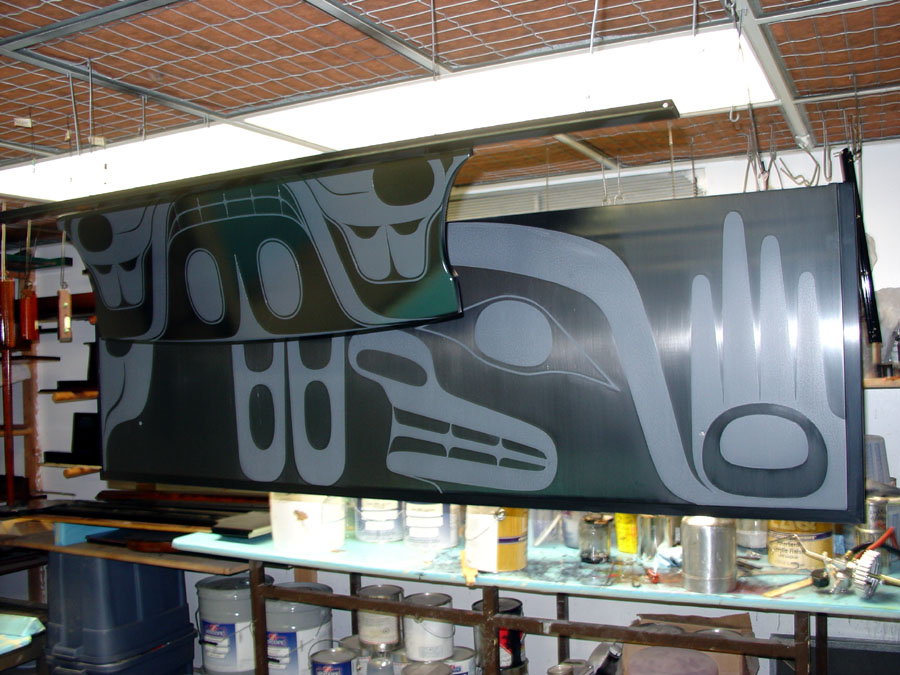
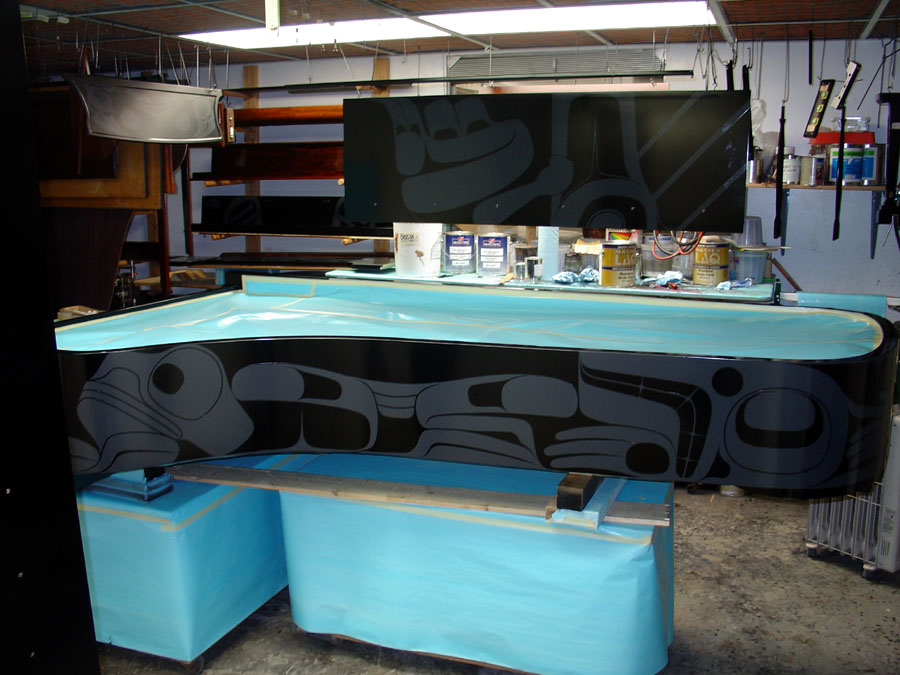
This is a brand new Steinway concert grand that was hand painted by
local Haida artist Jay Simeon.
We were hired to detail the paintings and put a finish over the art
work. It took us 5 weeks of full time labour to finish our part of
the job.
The paint is acrylic made form ground argillite, a stone found
exclusively in Haida Gwaii, British Columbia.
It has officially been added to the Steinway art case collection
designated by Steinway & Sons.
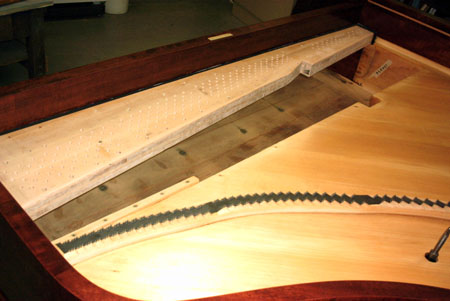
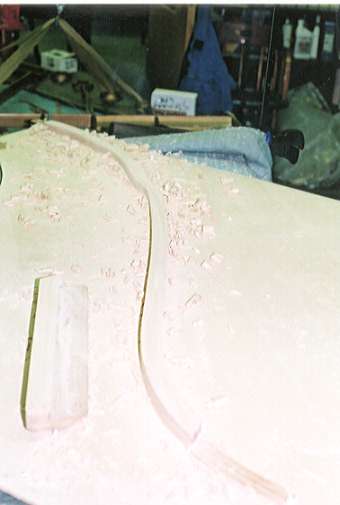
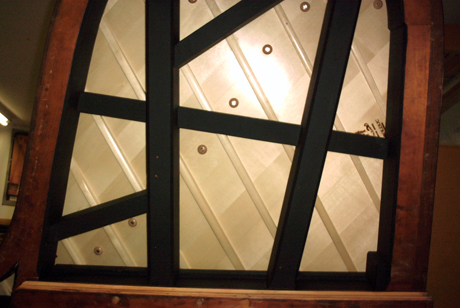
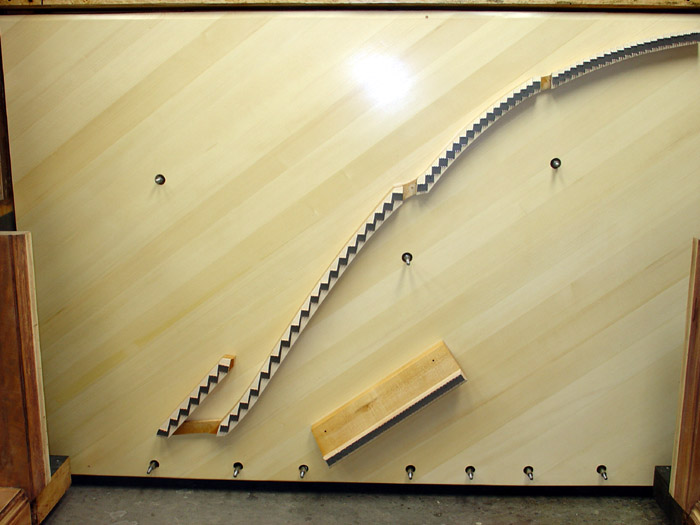
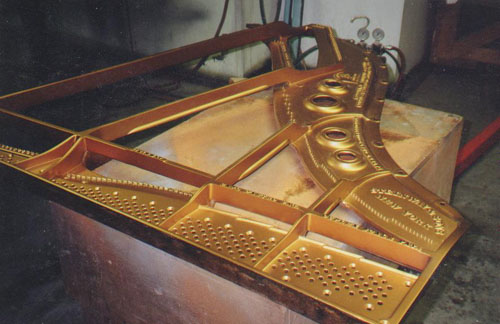
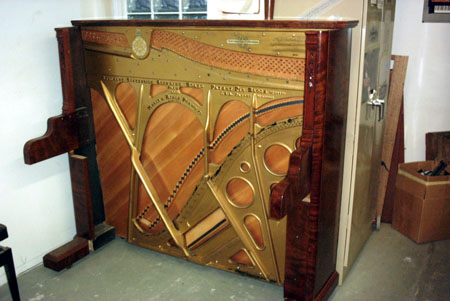
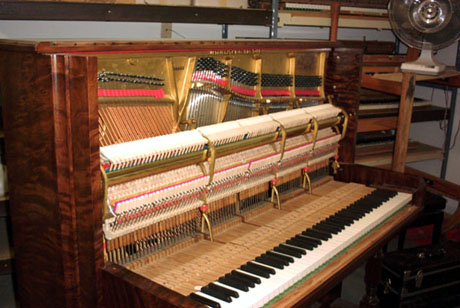
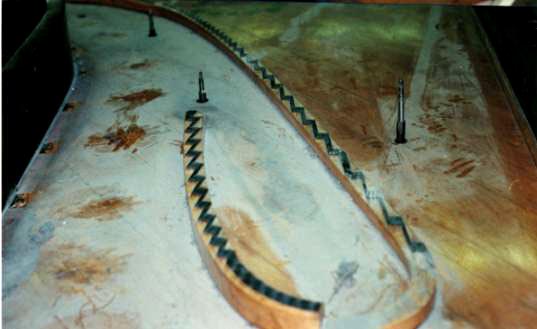
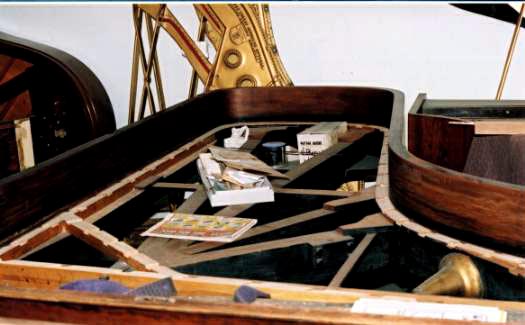
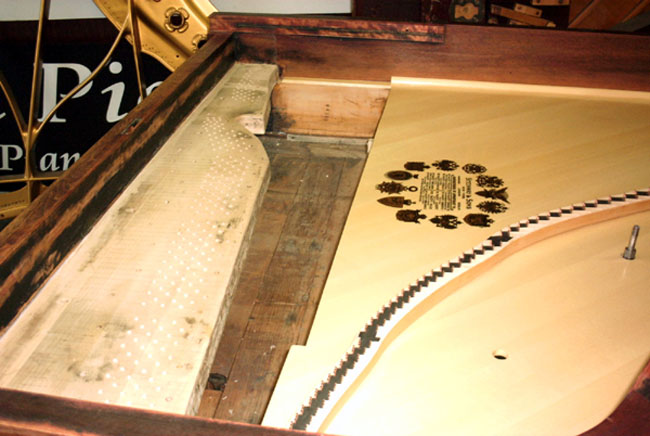
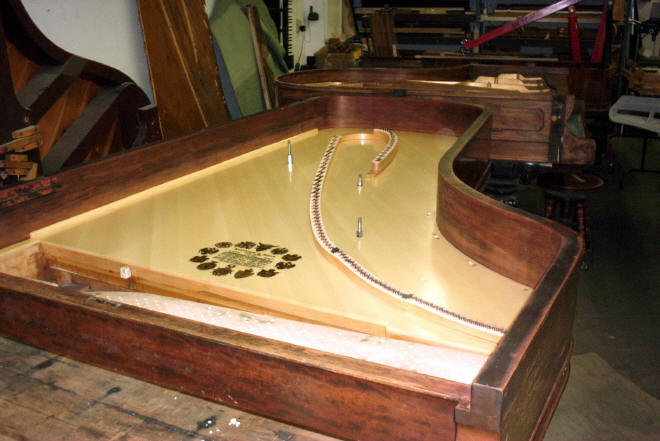
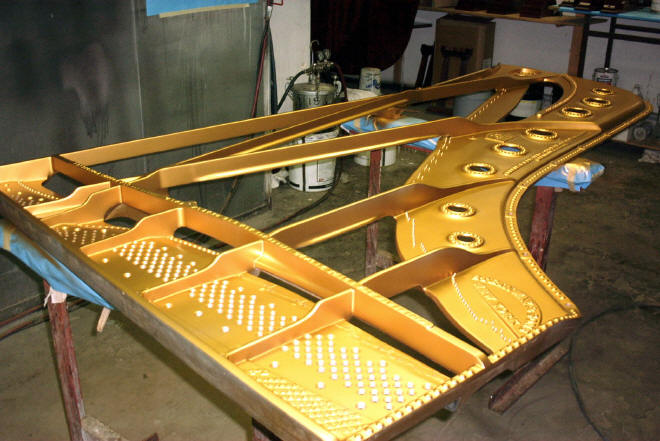
View of the pin
block and sound board with the plate out of the piano. This pin block
has to be replaced.
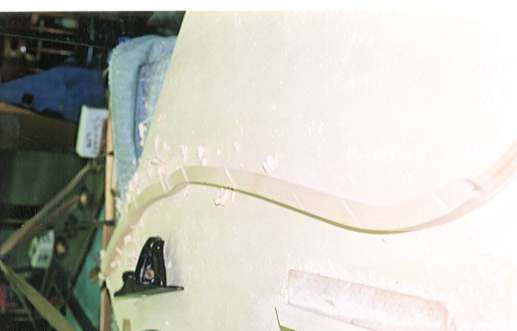
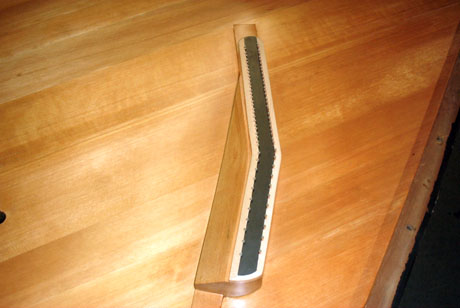
Removal of a Steinway pin
block using specially designed router cuter.
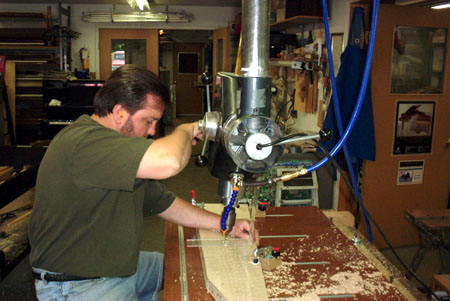
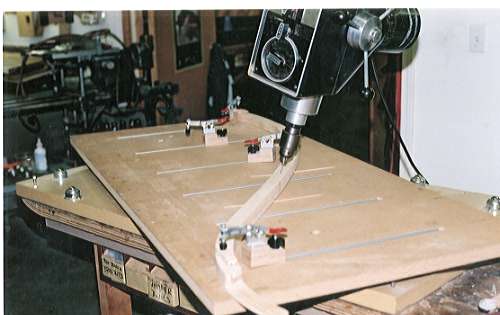
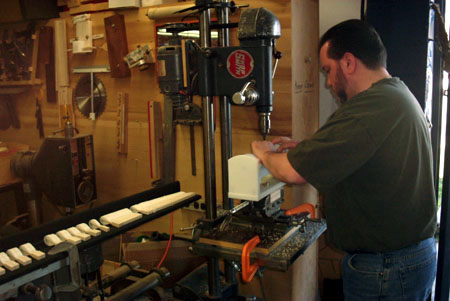
Drilling the pin block with an
overhead variable speed drill.
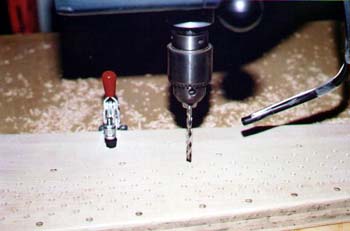
Close up of a pin block
being drilled.
Pin block ready for drilling.
Rod should get a real guitar.
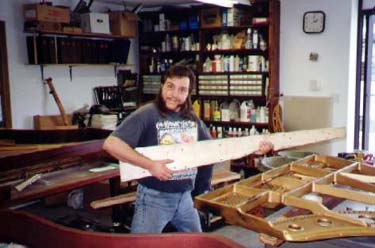
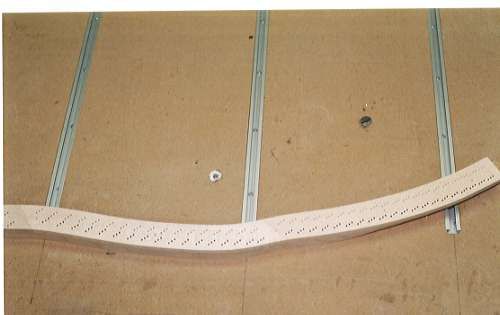
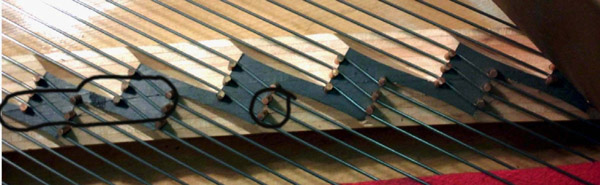
View of
a finished Steinway pin block
NEXT
10 PICTURES BELOW DEMONSTRATES REPAIR AND SHIMMING OF
THE OLD SOUND BOARD.
IT
IS NOT ADVISABLE ON OLDER PIANOS WITH CRACKED OR FLAT
SOUND BOARDS TO SHIM THE BOARDS. IT IS MORE COST
EFFECTIVE TO REPLACE THE BOARD, BECAUSE IT WILL RENDER
LONGER LIFE TO THE INSTRUMENT.
Mason and Hamlin sound board.
This board has too many cracks and no crown, therefore
it needs to be replaced.
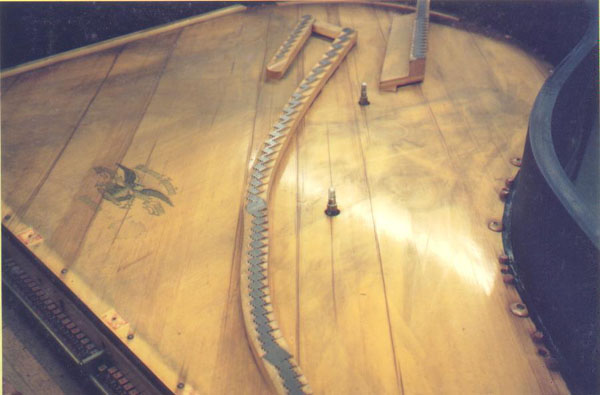
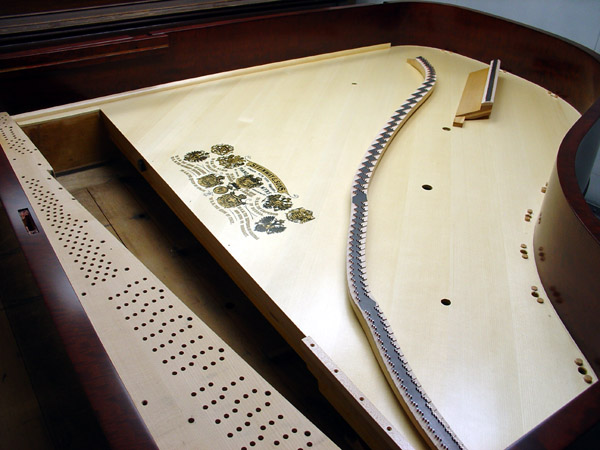
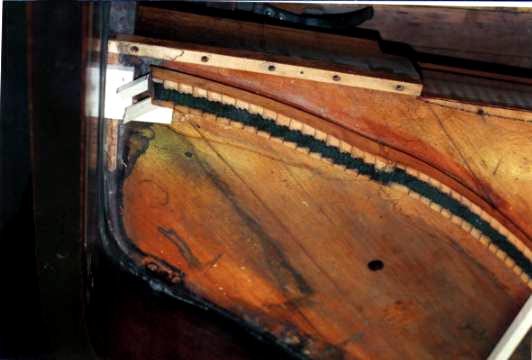
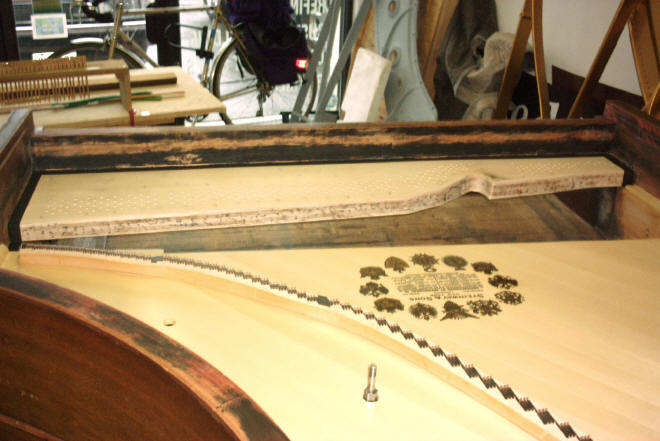
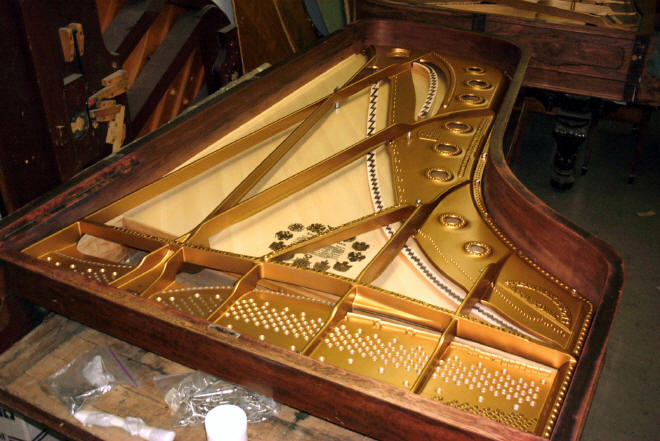
This Steinway sound
board was very dirty however it was very restorable.
Scraping off the old finish.
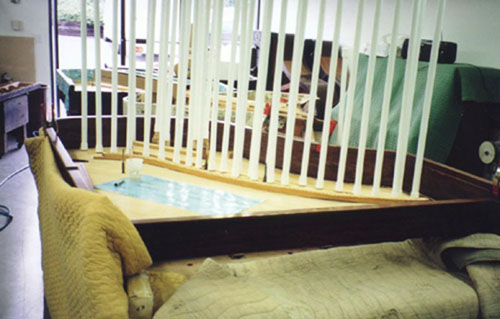
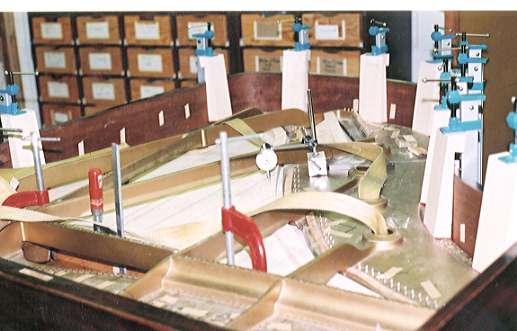
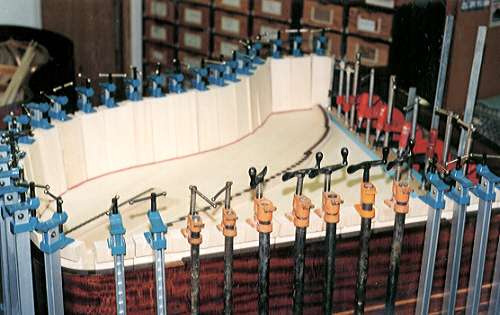
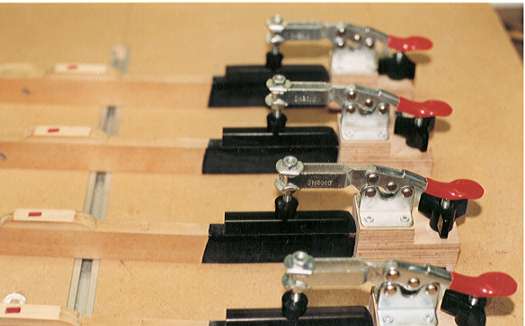
We glue our shims in with
spring loaded go bars.
Close up photo of gluing the
shims.
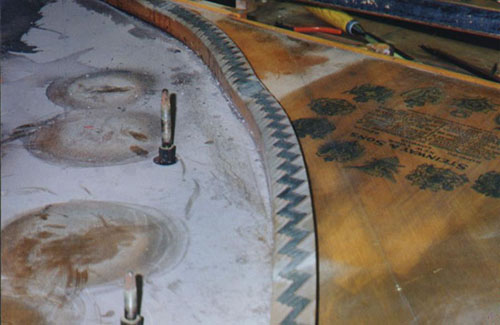
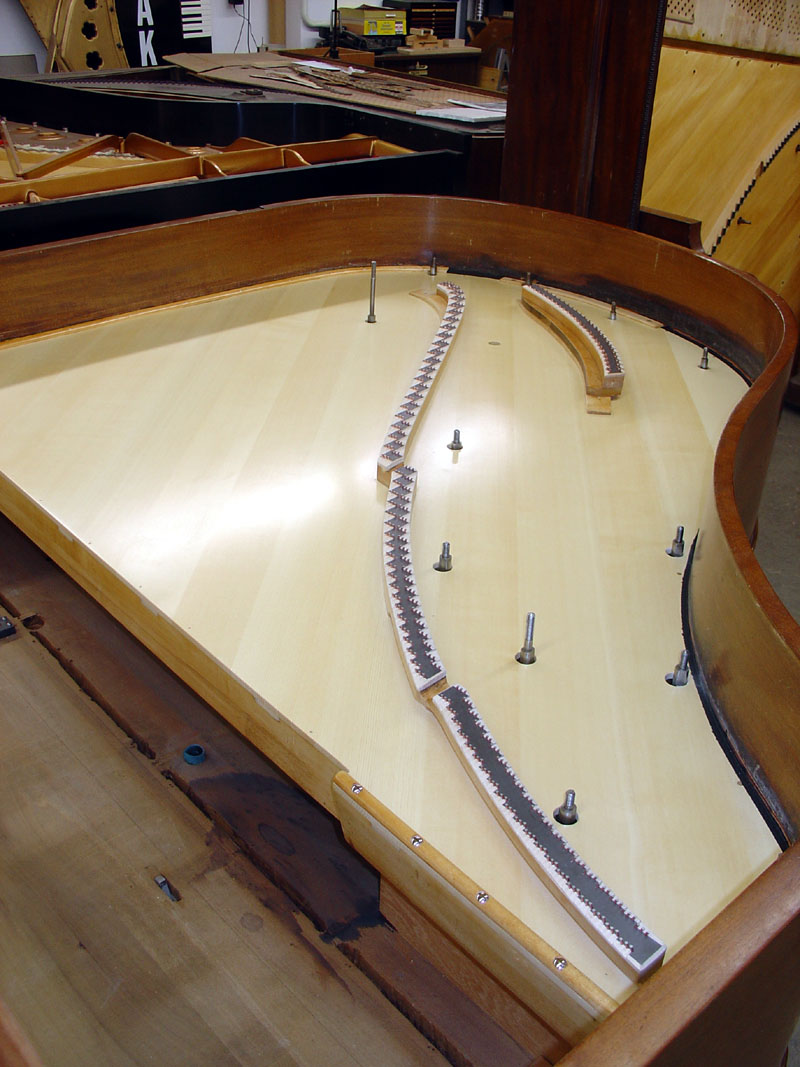
Further sound board scraping
with pin block already installed. Two cracks were
shimmed and the bridges are now being rebuilt.
Spruce shims are now fit for
gluing. This sound board has too many cracks. We would
rather replace the board, but upon customer request we
shimmed it The piano has an amazingly good tone.
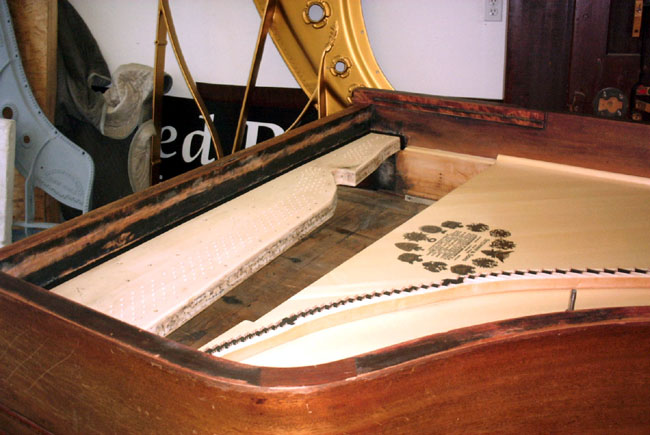
This is the above sound board
with the shims glued in, planed and sanded.
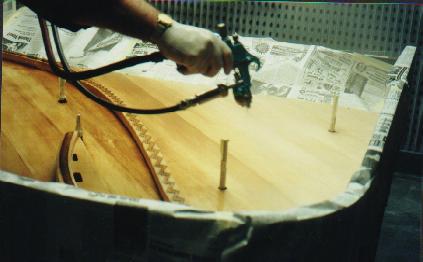
Spraying the sound board.
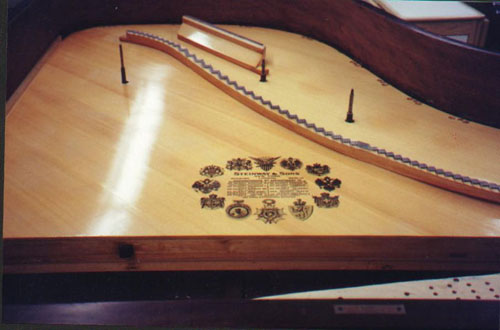
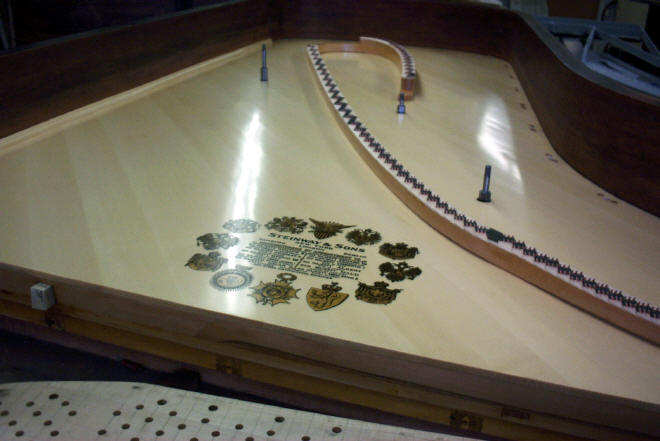
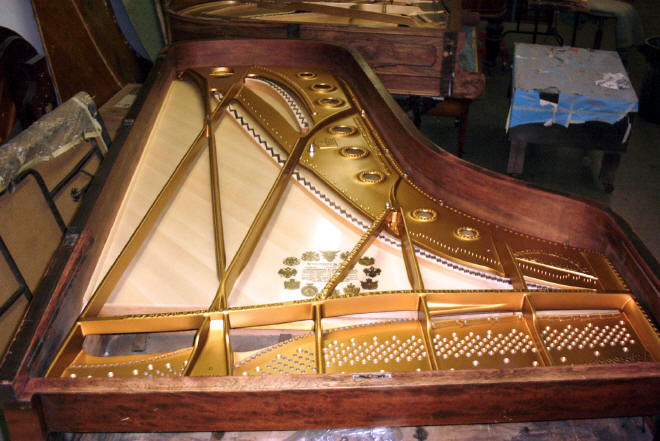
Sprayed sound board with a
Steinway decal applied.
NEXT
13 PICTURES BELOW DEMONSTRATES REMOVAL AND REPLACEMENT
OF THE NEW SOUND BOARD IN A 1899 HEINTZMAN GRAND
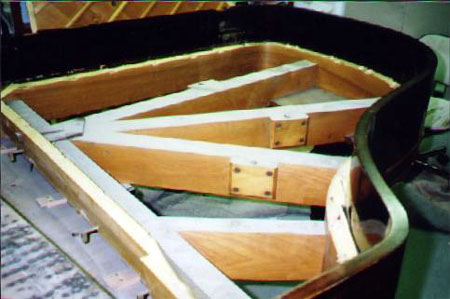
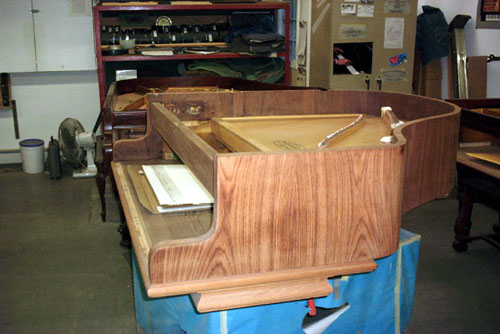
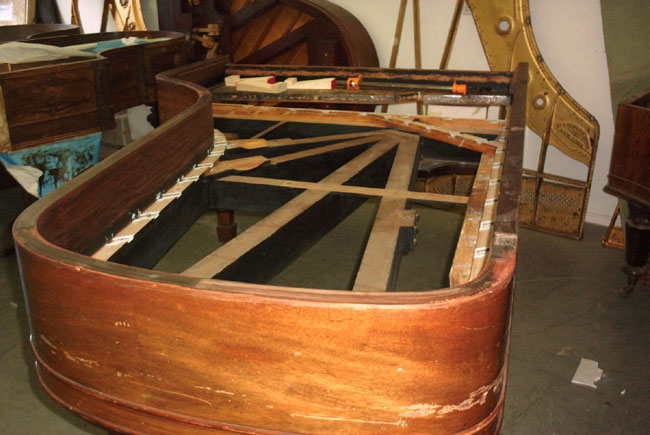
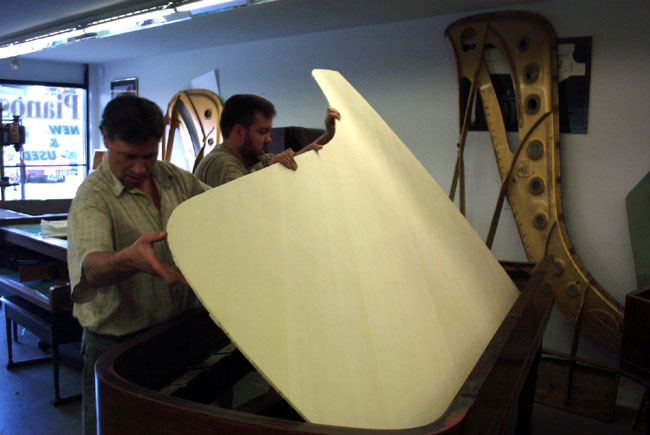
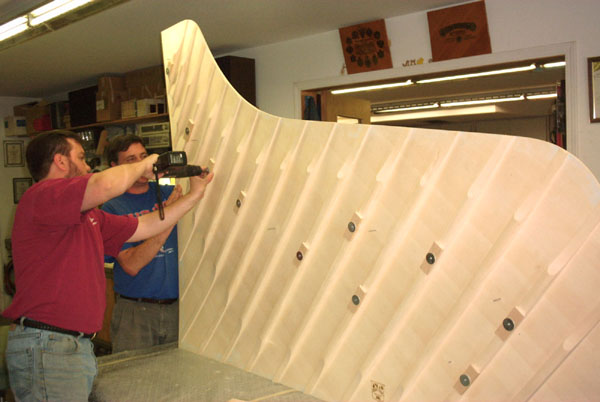
Removal of the sound board
from a Heintzman grand.
Sound board removed from a
Heintzman grand.
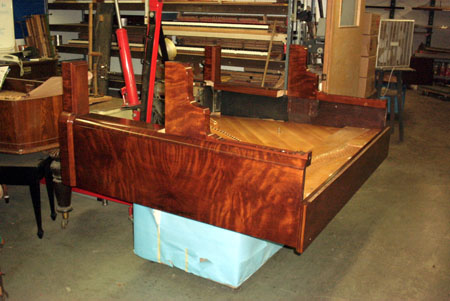
View of the old
board and the piano
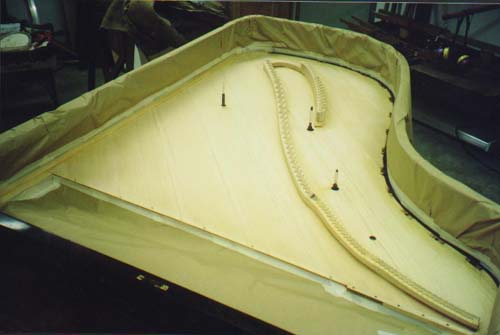
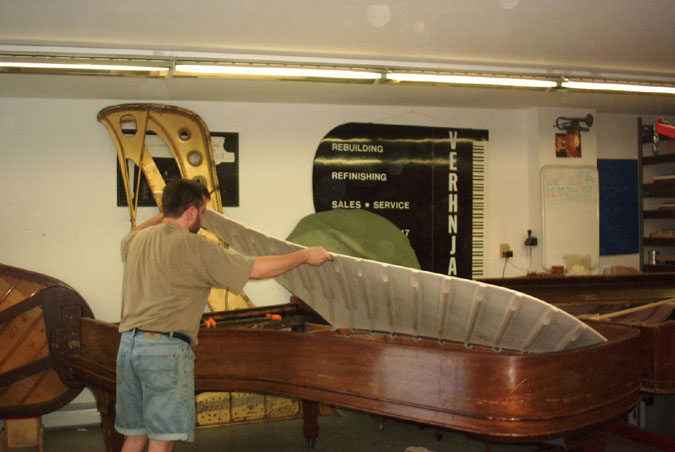
Manufactured
sound board panel with ribs is kept in the hot box. This
view shows how the board is dry fitted
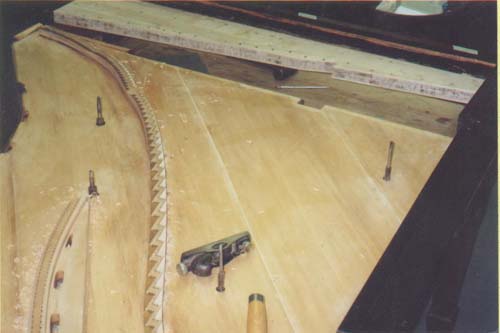
Down bearing
has to be set correctly. Down bearing is the height of
the bridges in relationship to hitch pins and agraffe's.
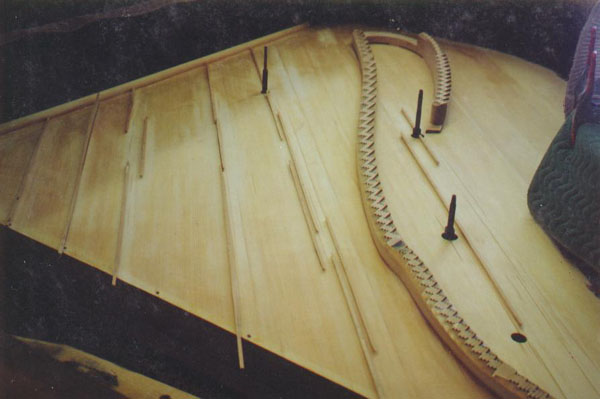
Down bearing
has been established and the board is removed from
the piano
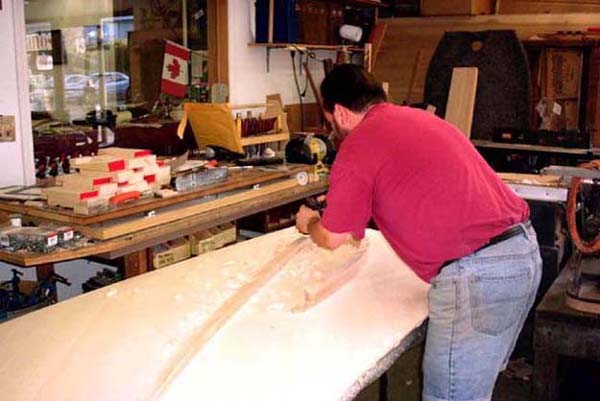
Bridges are now
hand plained to the correct down bearing height.
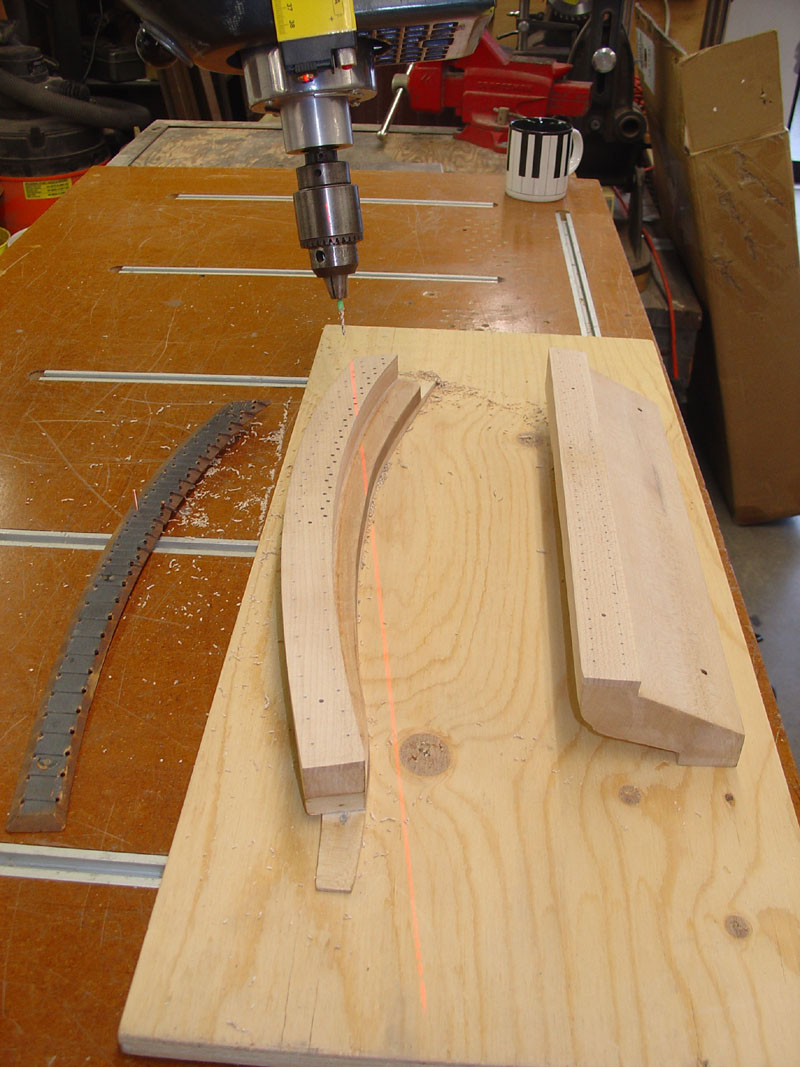
Bridges are
removed from the board and drilled precisely for bridge
pin installation. This is
accomplished with an overhead drill press
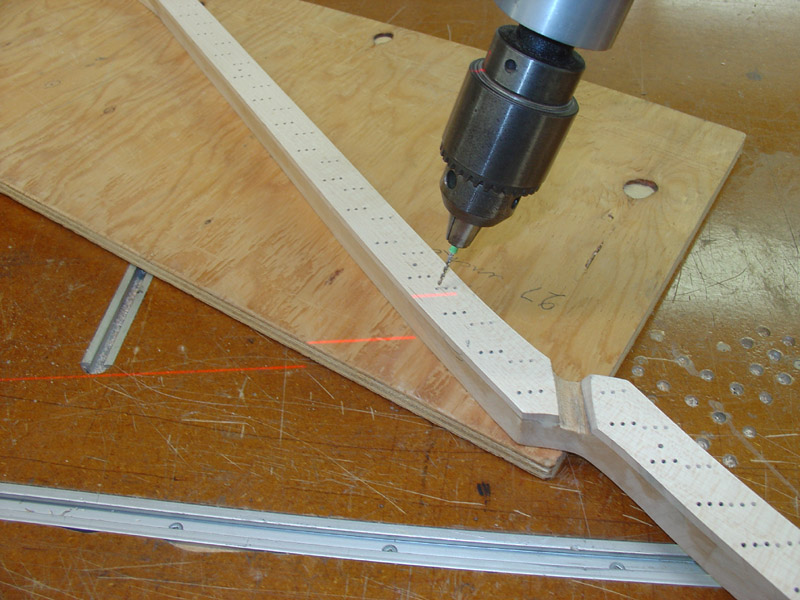
Drilled bridges
are ready for careful notching by hand
Laser guided
positioning
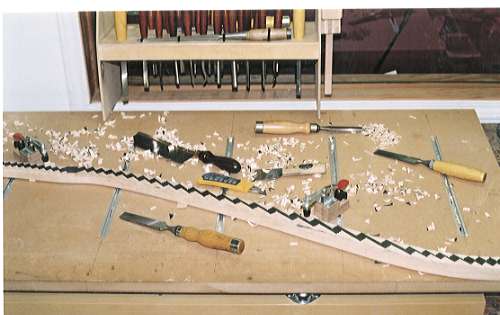
Notching and
bridge pin installation is done outside of the piano
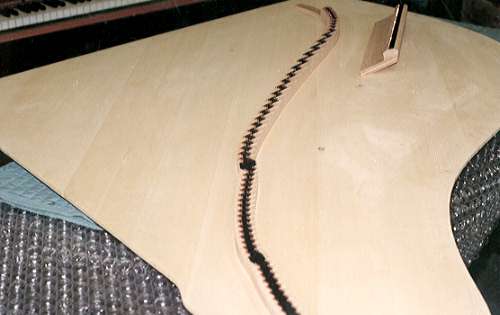
Completed
bridges are then permanently installed on the board
outside the instrument.
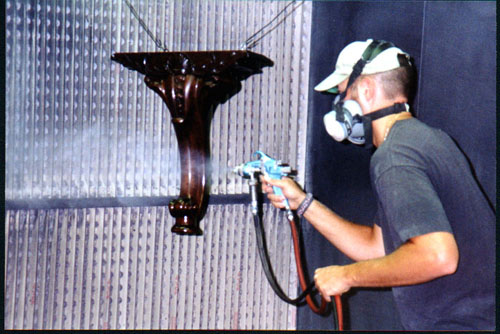
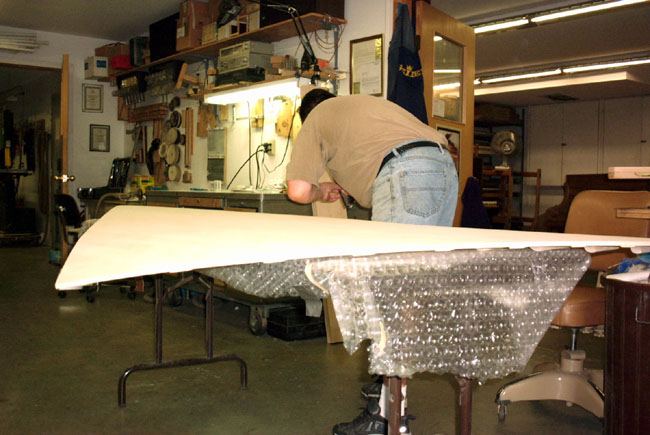
Back of the
board is sprayed before installation. Upper side of the
board is sprayed once installed.
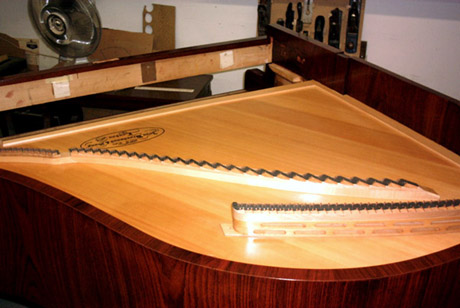
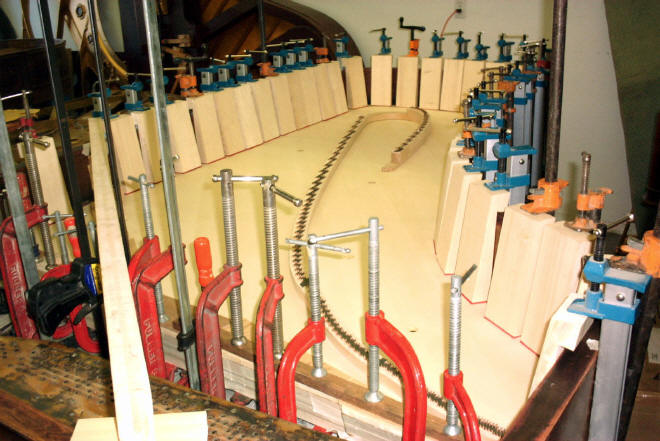
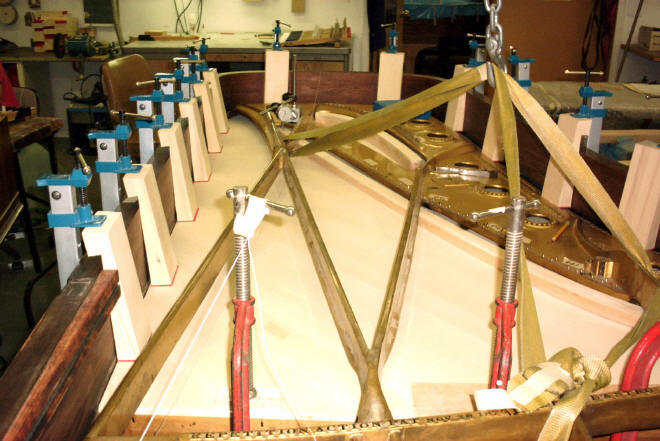
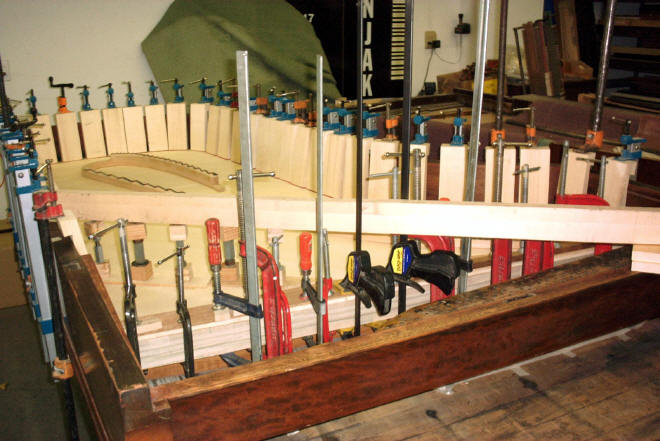
The sound board
is glued permanently in to the rim of the case.
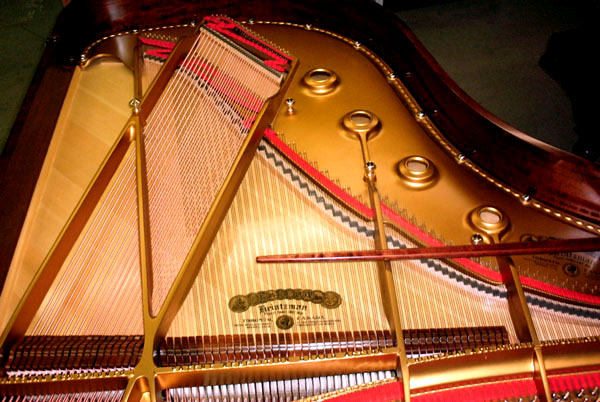
Soundboard with new finish
Finished Heintzman with
a new soundboard
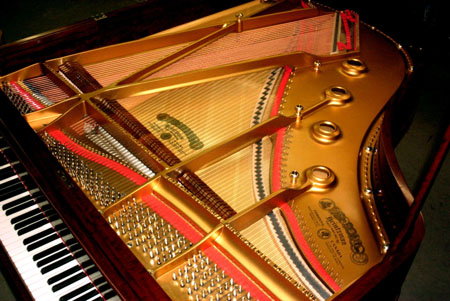
Heintzman with a new
soundboard
Finished Heintzman
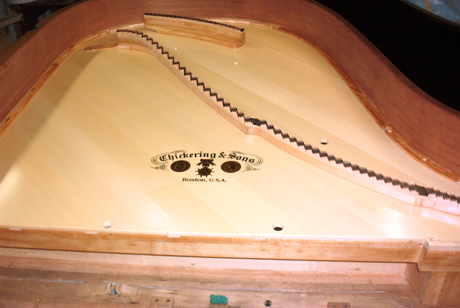
New soundboard in
a Chickering
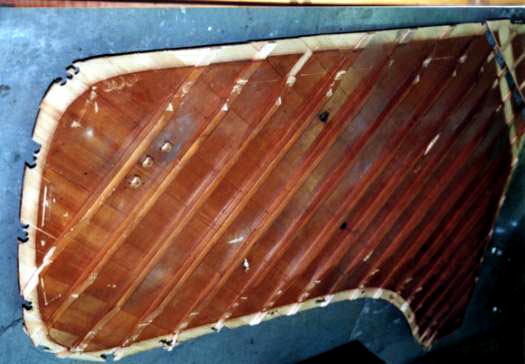
New board
Chickering underside
1907 Steinway
new board and pinblock
Model
"A"
Same Steinway
"A" as above
Same Steinway
"A" as above
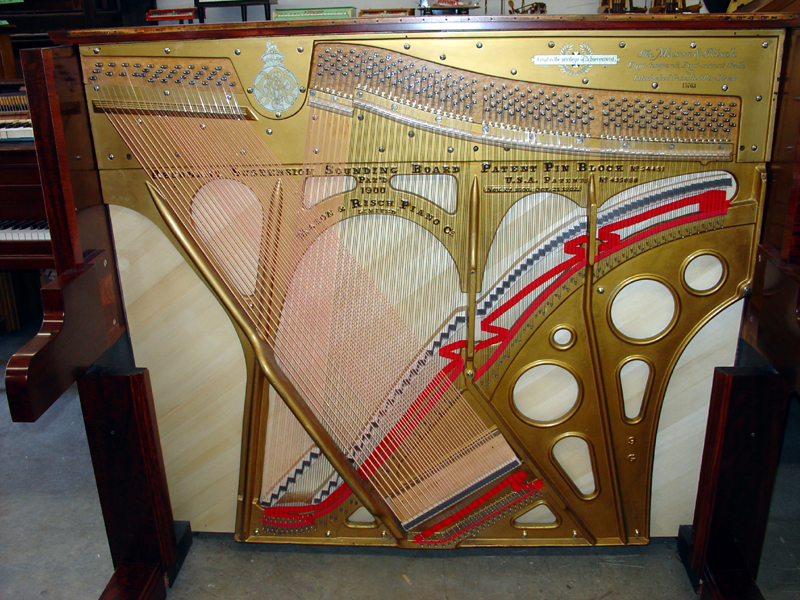
Mason & Risch
taking old soundboard out
Soundboard is
out
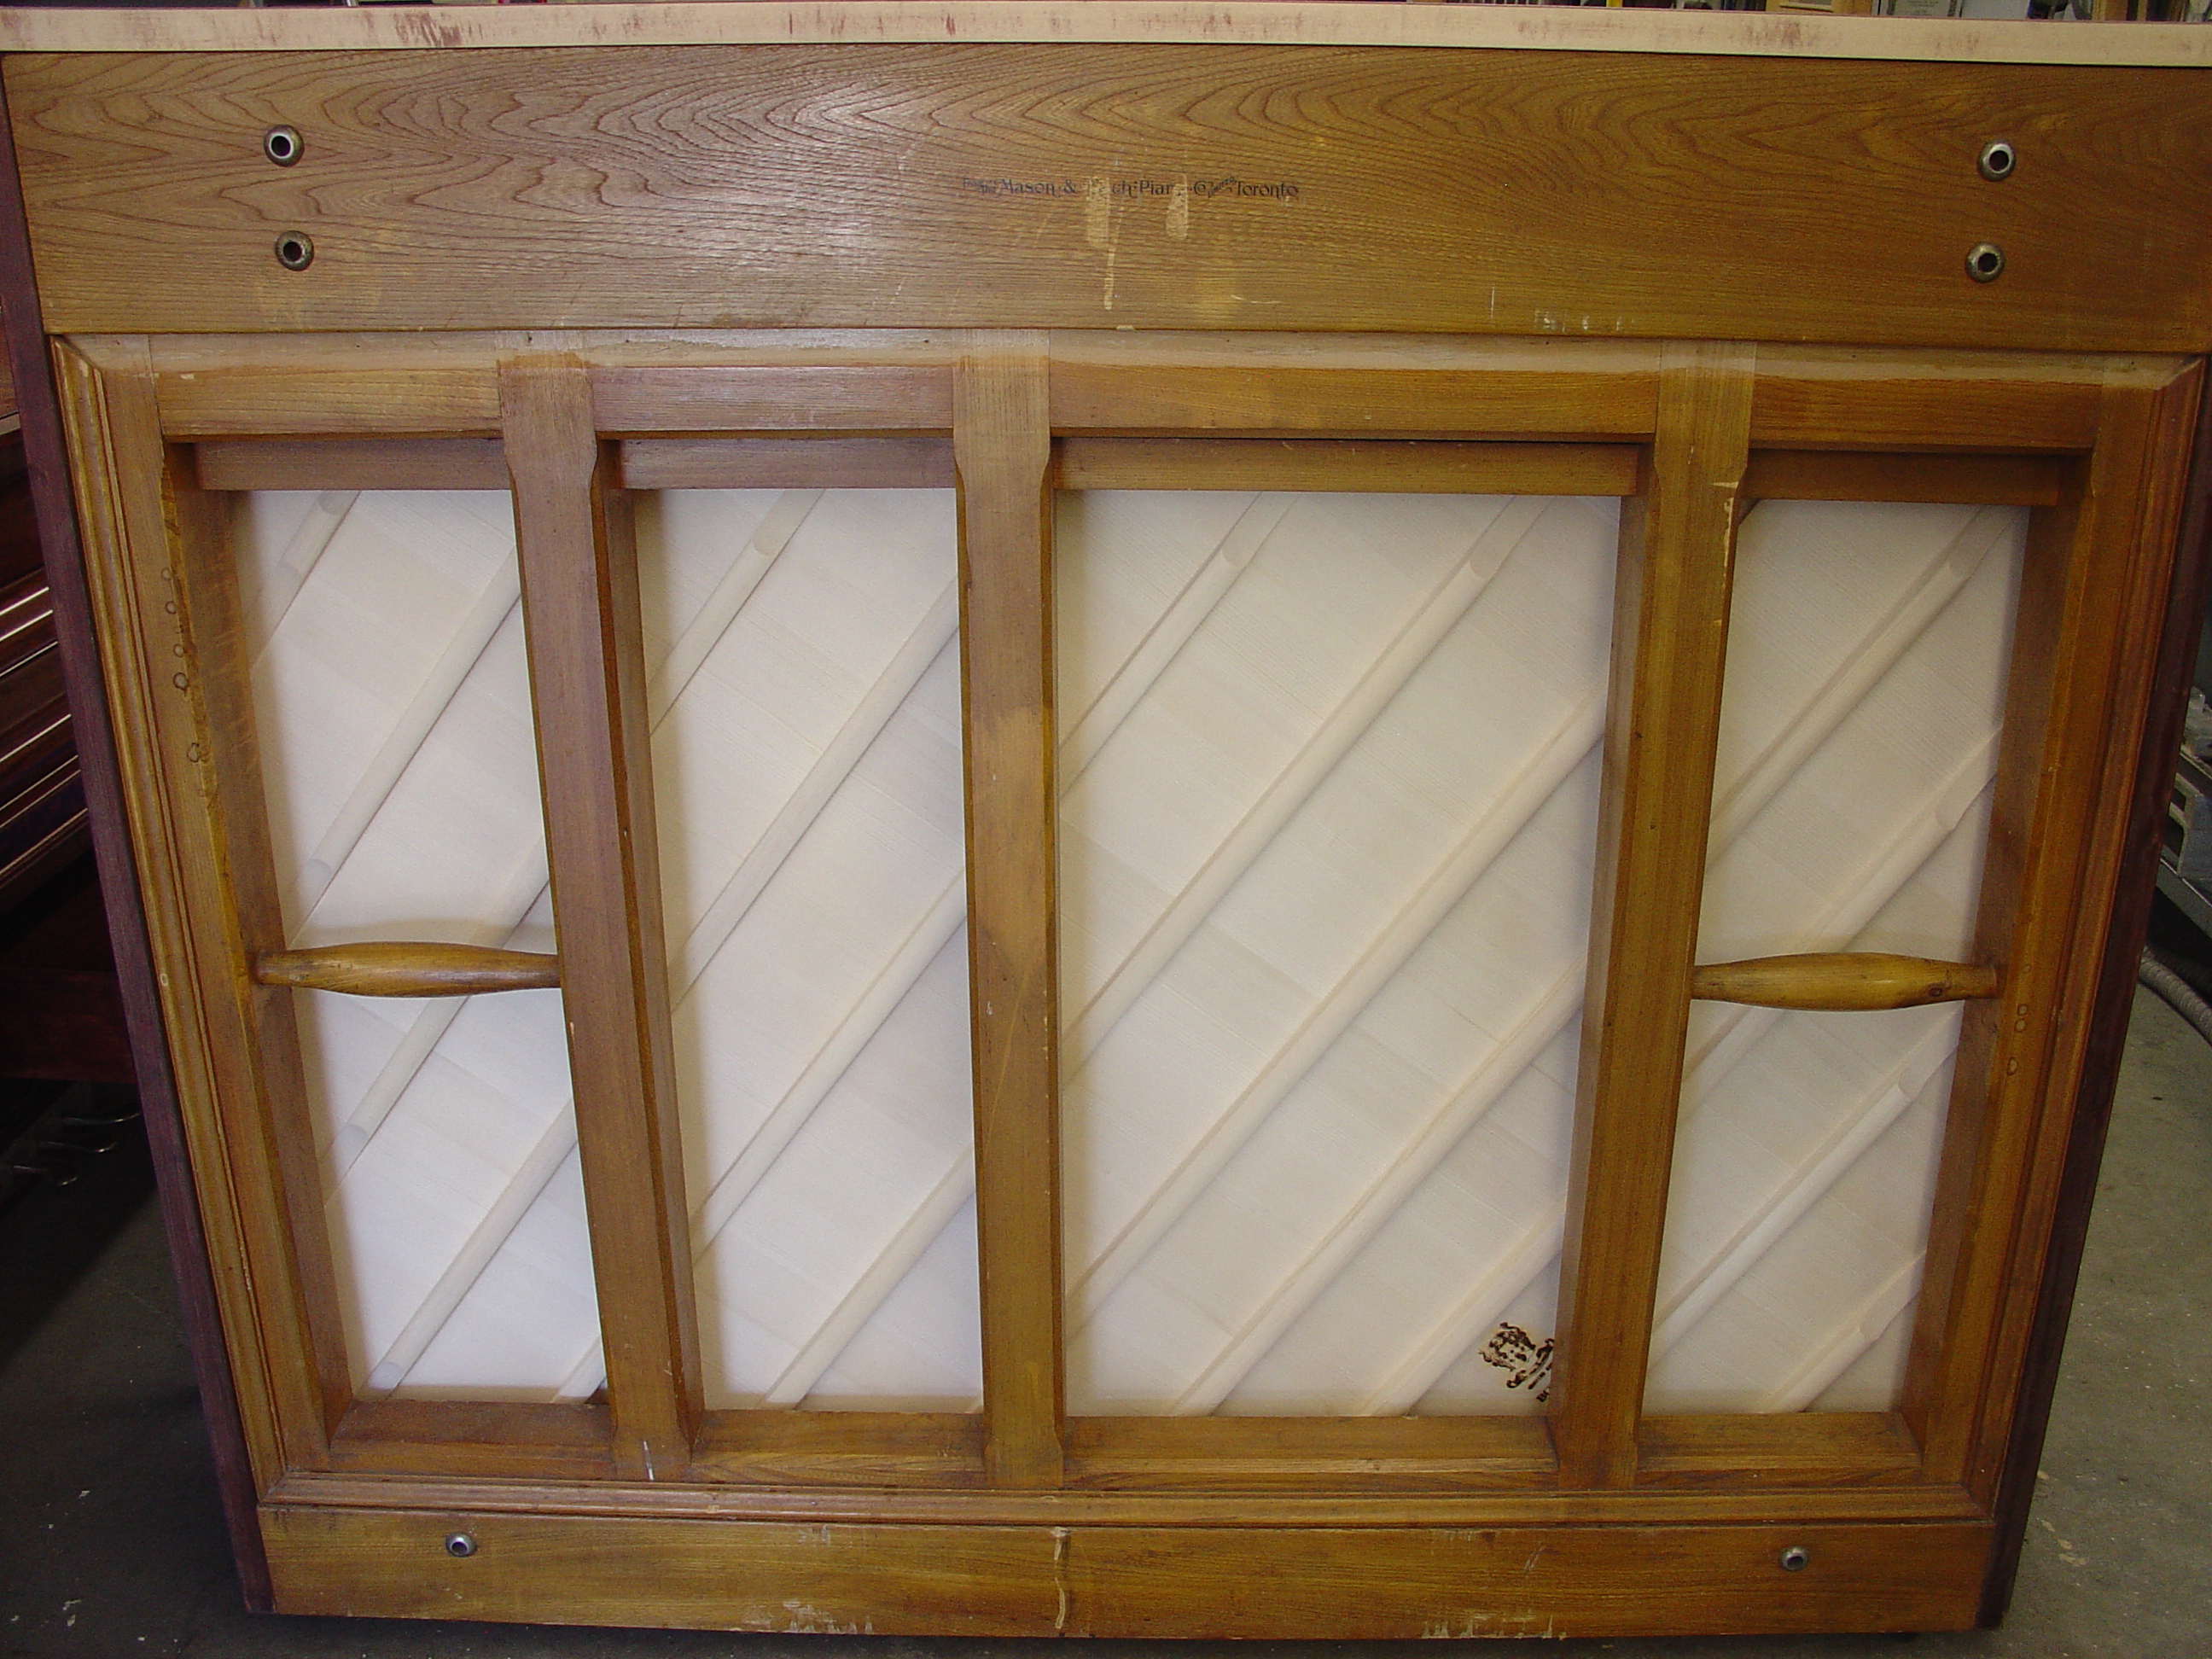
New soundboard
is in a Mason & Risch
New soundboard
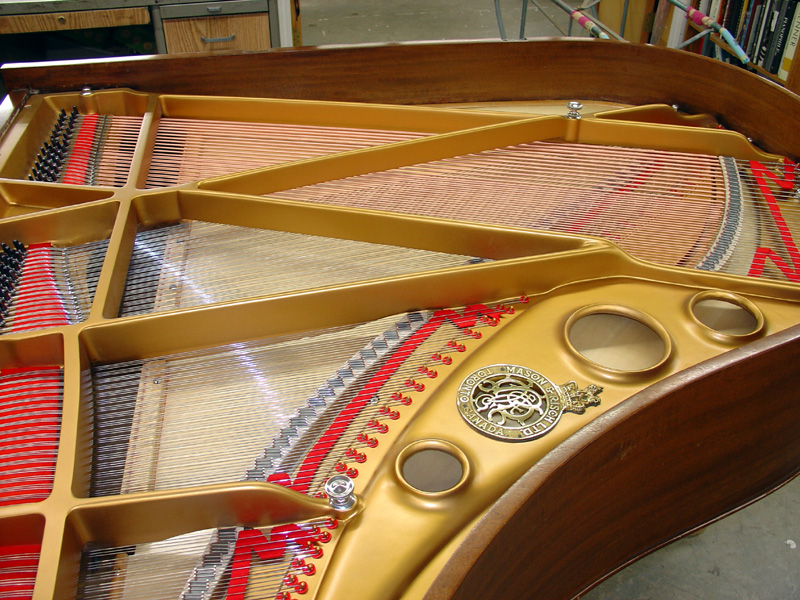
Mason & Risch
new board
Strung Mason &
Risch
New Bridges for Mason & Risch
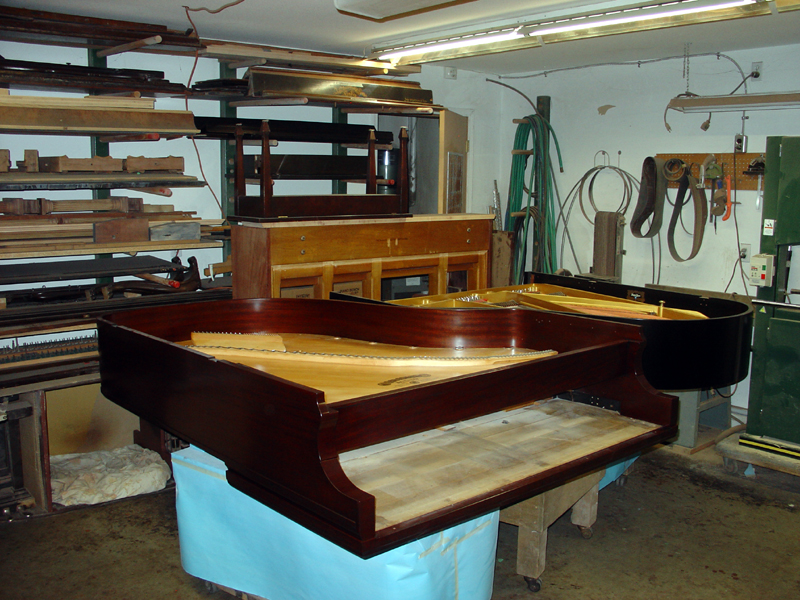
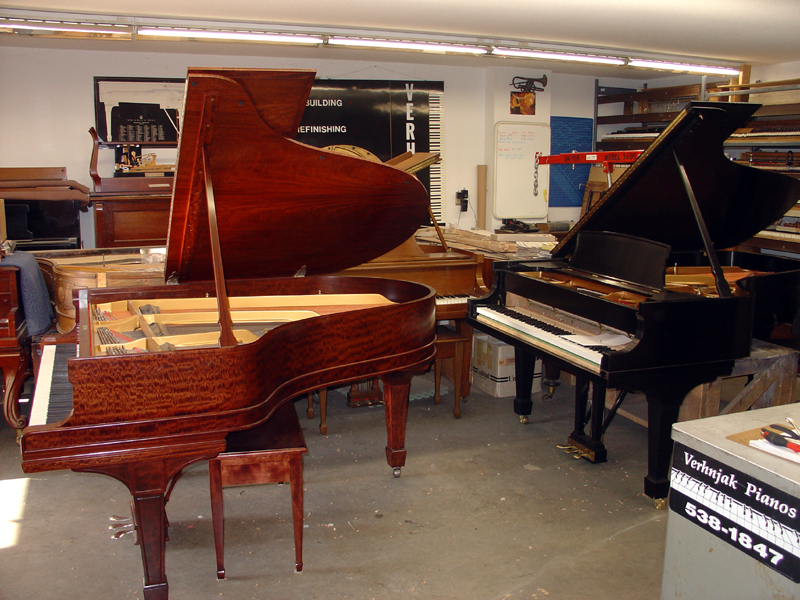
Pianos in progress and waiting
for further work
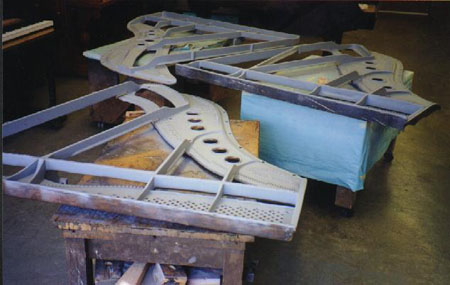
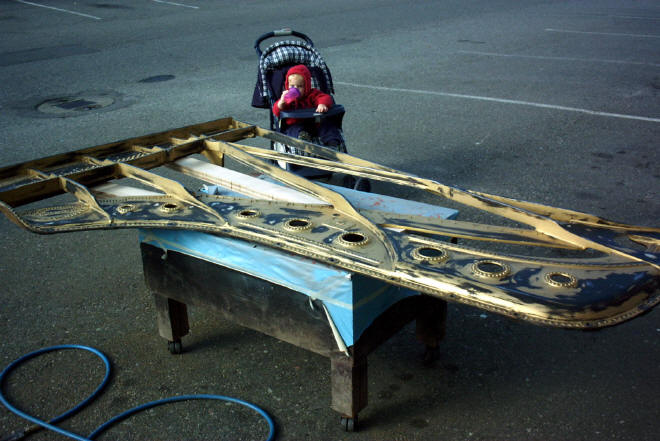
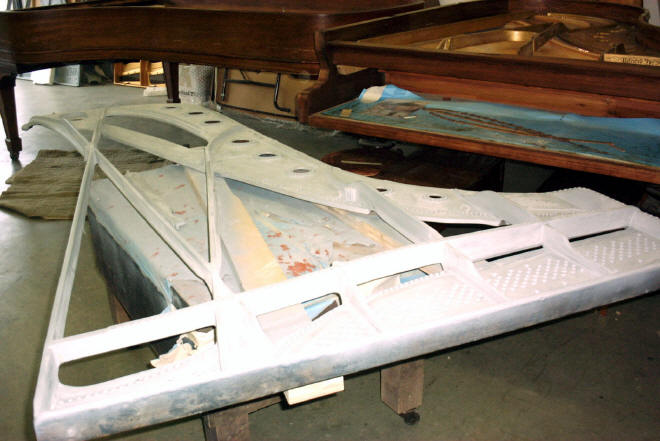
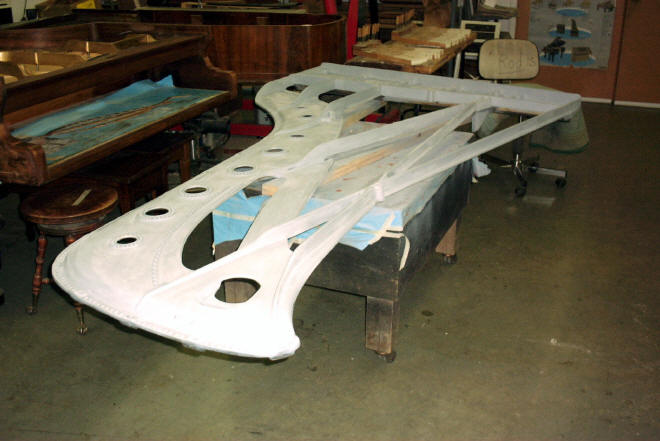
Plates to be refinished. They
are sanded and primed.
Sprayed plate
Repainted lettering
View of a restored Everett
grand piano.
Restored
Steinway
Restored
Knabe
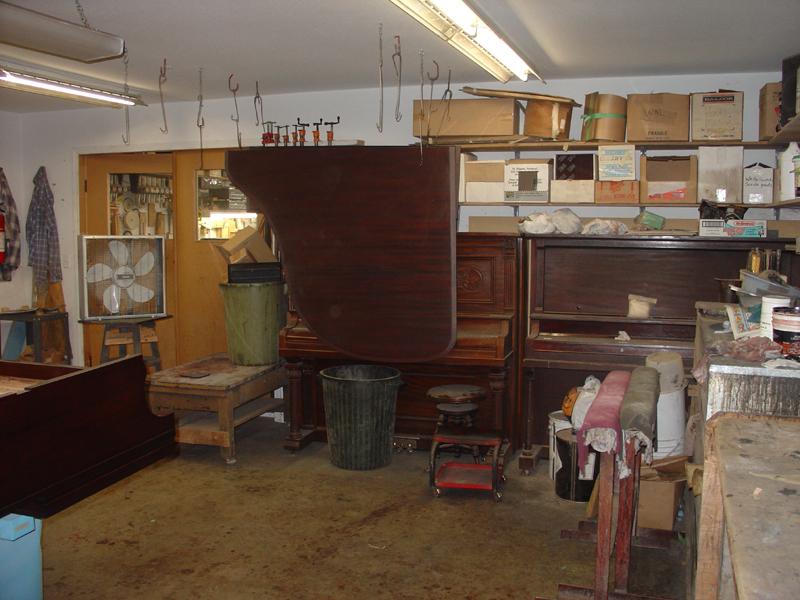
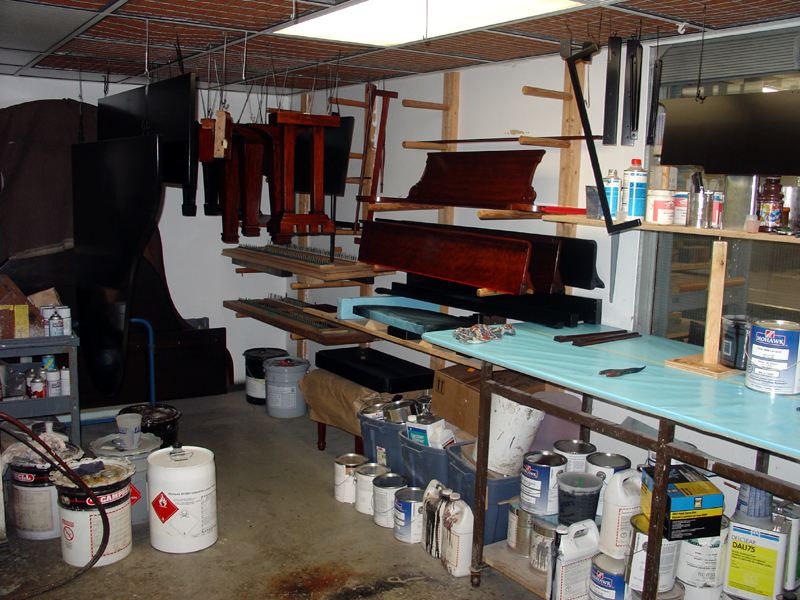
Partial shop picture.
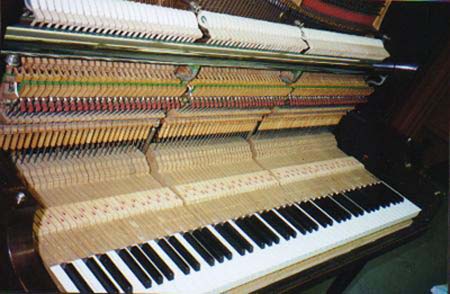
This picture shows how the keys can be
cleaned.
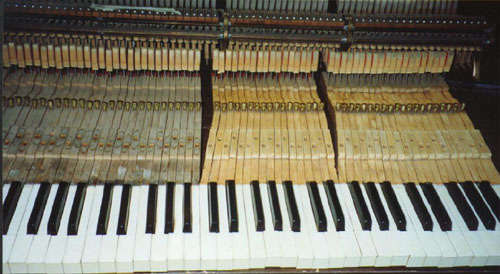
Old set
of upright keys that need to be replaced do to very wide
spaces between keys
New keys
New key
frame
Installed in a D.W. Karn
Gluing on sharps
Disassembled grand piano action
Drilling
new hammers
Gluing
on new hammers
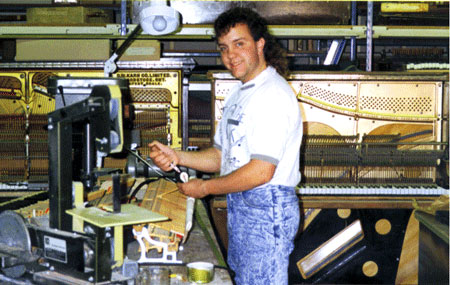
Rod in
1991 pre voicing new hammers
Rod in
1988 Rough "Bench" Regulating
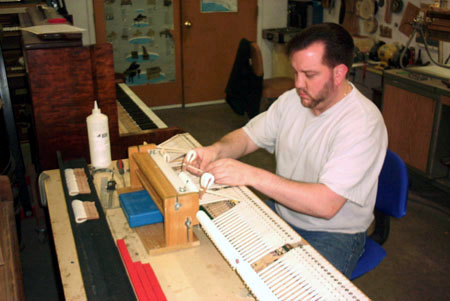
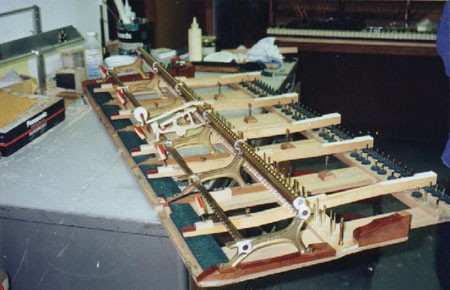
Figuring out the geometry for
the new action parts.
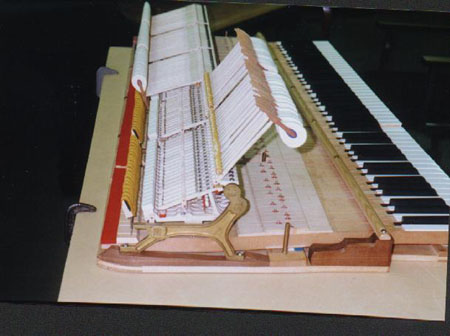
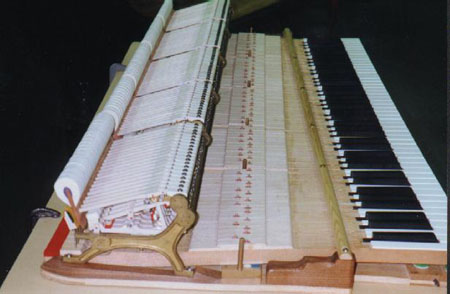
Restored
action for a Steinway concert grand We always
install Renner action parts manufactured in Germany
Key
frame with new felts
Preparing to install white key tops
Another photo of the new
action parts.
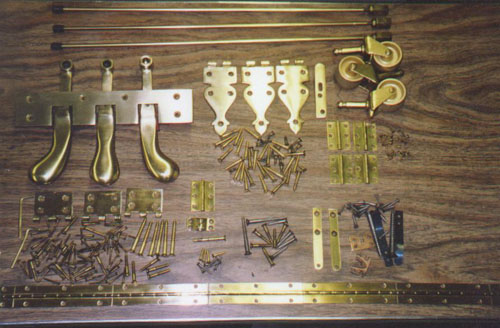
Polished brass hardware for a
Steinway concert grand.
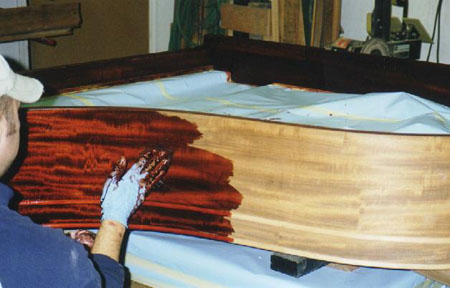
Applying the stain to a
Mahogany Heintzman grand.
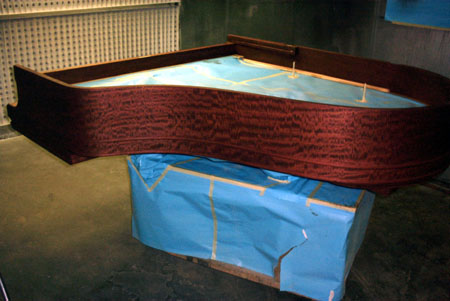
Stained mahogany Gerhard
Heintzman ready for the finish to be applied.
Steinway
just stained ready for lacquer
Finished
cabinet
Mason &
Risch with plate installed
Mason &
Risch out of the spray booth
Refinished Walnut legs for a
Gerhard Heintzman.
Refinished Walnut Gerhard
Heintzman.
Broadwood grand stripped and sanded ready for the stain
Broadwood with new soundboard
Broadwood finished
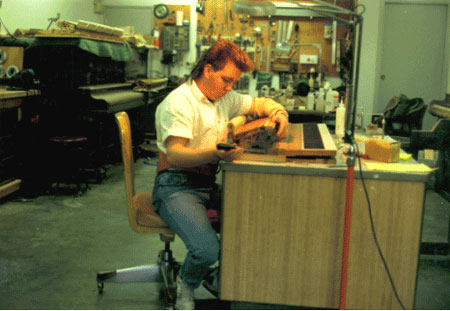
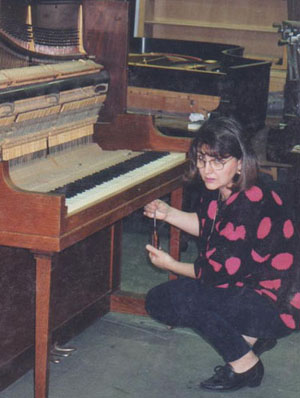
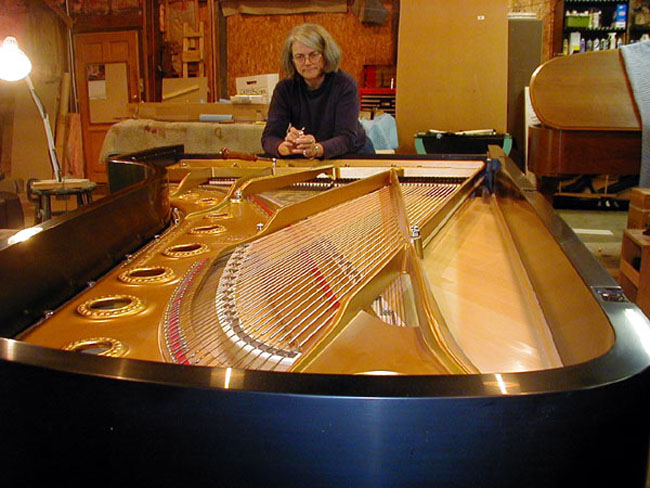
Eileen Verhnjak at
work.
Rod Verhnjak, looks
like he is searching for something inside the piano. I
know he likes fishing, but in the piano?
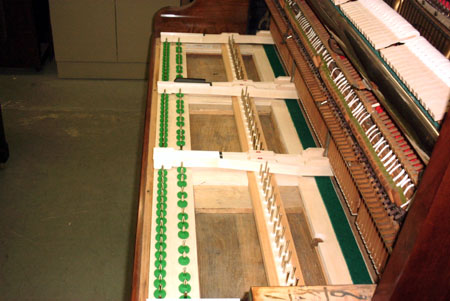
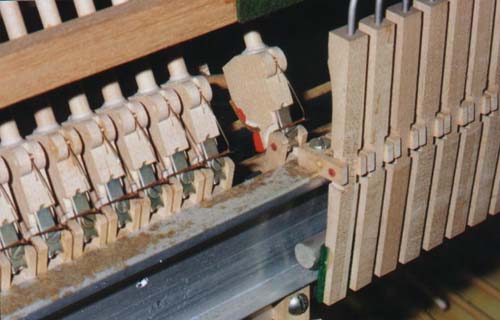
Yamaha uprights have a silk
cords attached to the springs on the butts. In about
fifteen years (depending on the climate circumstances)
they disintegrate and must be replaced. Just
about all dealers that sell used import Yamahas do not
replace silk cords. Without silk cords the action will
not work properly.
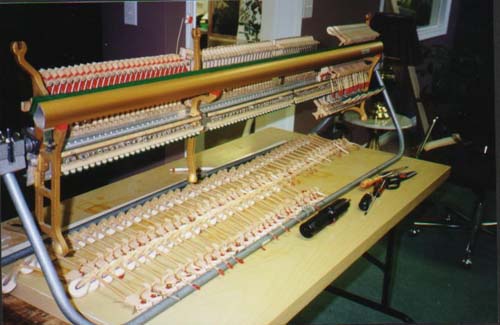
In order to replace silk cords
one must remove the butts with flanges and the whippens.
. This job requires approximately 10 hours.
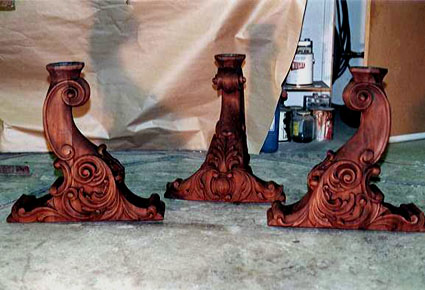
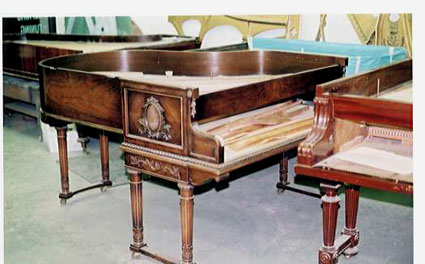
Art case Chickering legs showing the
difference between striped and non stripped legs. These
legs are 100 years old.
Striped sanded and stained
Leg installed just before
staining will commence.
Cabinet
is now stained ready for lacquer.
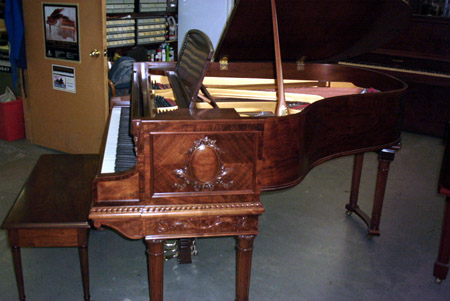
Piano is
finished.
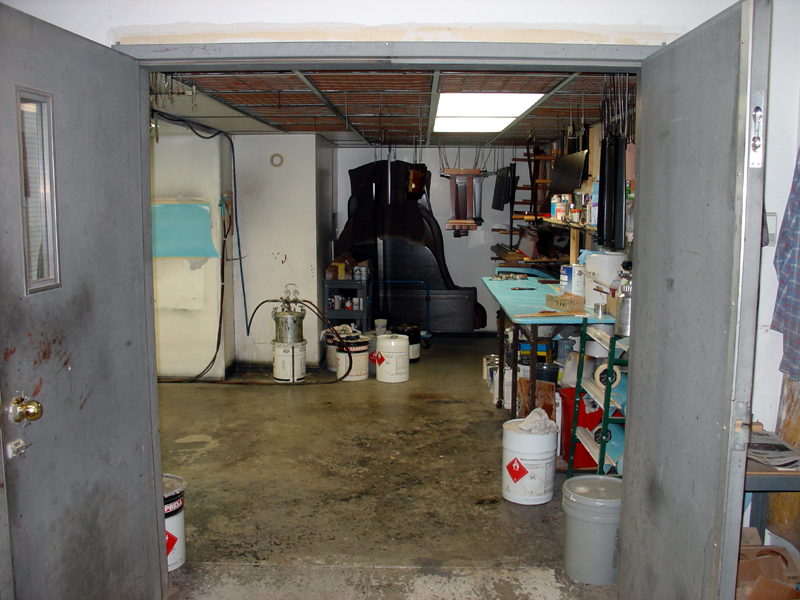
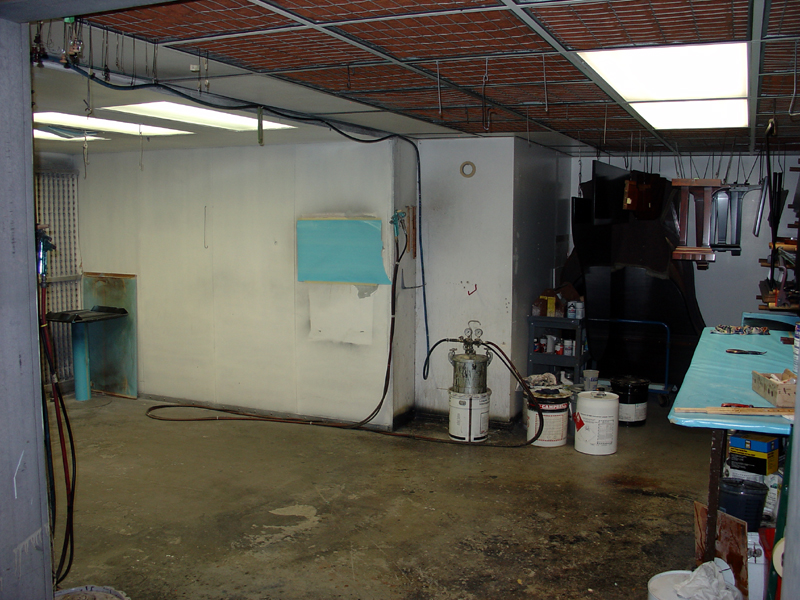
Inside the spray booth
.New legs for a
rebuilt Hamburg Steinway "B"
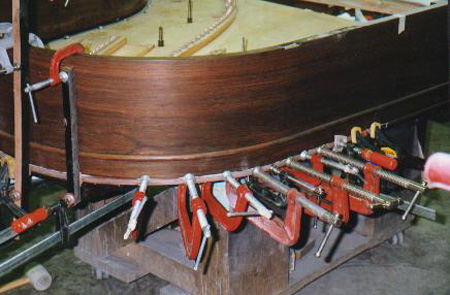
Forming 14 feet of
custom made rosewood moulding.
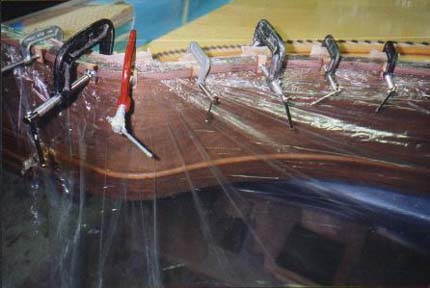
Gluing and clamping the
moulding to the rim.
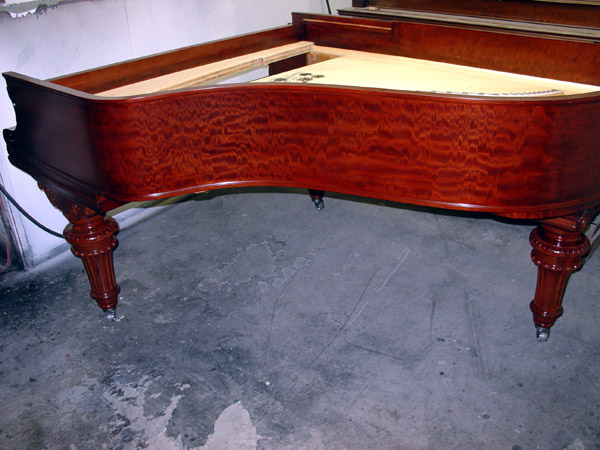
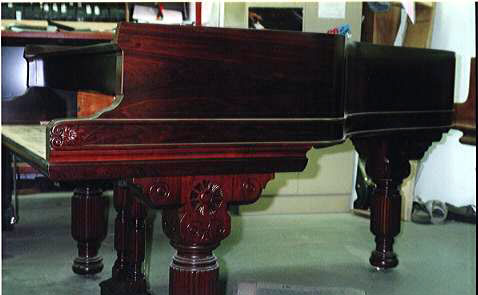
Steinway 1885 rosewood
refinished. The moulding around the rim was applied to this piano
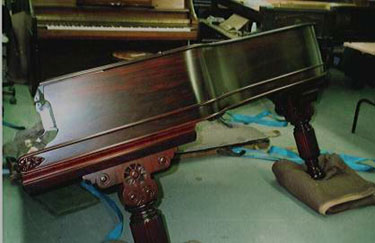
Steinway on its way home.
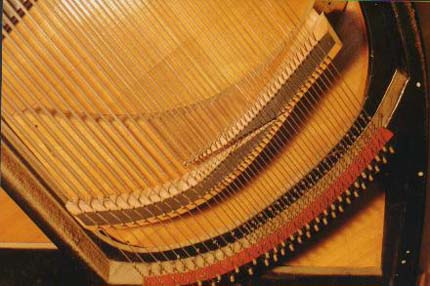
View of a very badly split
bass bridge. This bridge must be replaced.
Replaced bass
bridge on a Gerhard Heintzman
New bass
bridge ready for new bridge pins
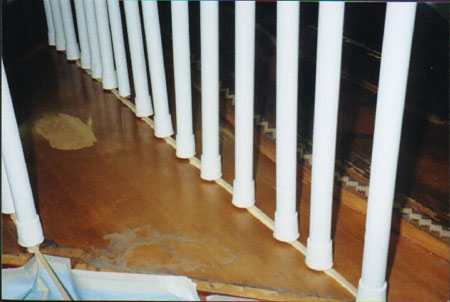
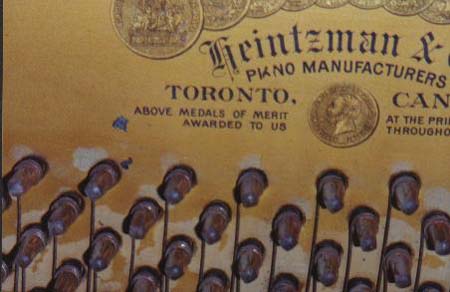
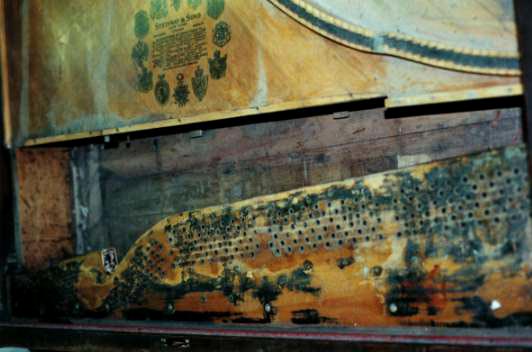
Beware of wet like water marks around
the tuning pins. This is a sure sign that the "pin
doping" had been done by some technician.
This type of treatment is done in order to swell up the
wood and tighten the tuning pins. However it does not
last long and also destroys the pin block.
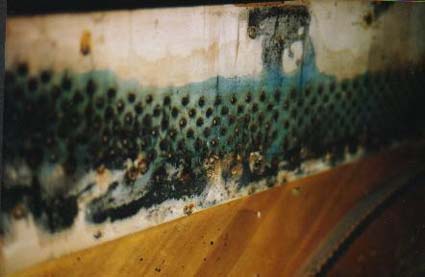
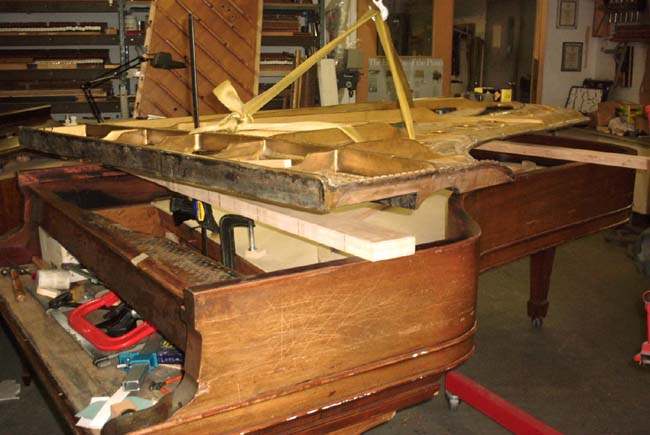
Plate removed (see above
photo). It clearly shows a permanently damaged pin block
that needs replacement.
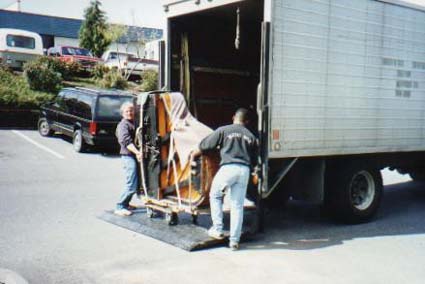
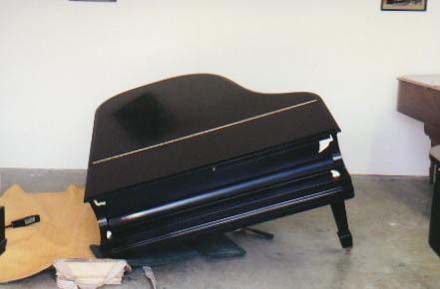
Movers hard at work.
Ouch. I am to be moved.
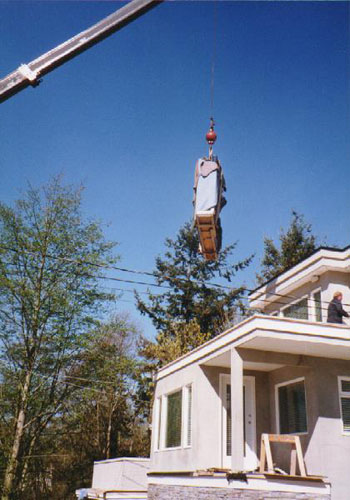
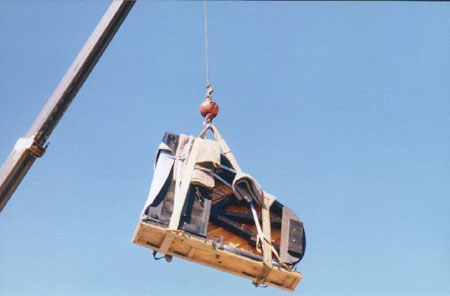
Our movers can overcome all challenges.
Knabe
being delivered
U. F. O. ?
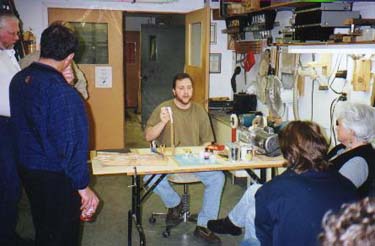
Rod lecturing how to replace
used ivory key tops.
All new
action parts on a 1890's Steinway
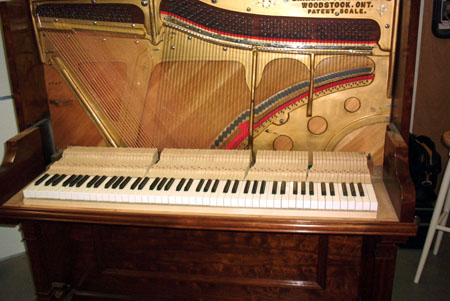
Rebuilt Heintzman upright
action.
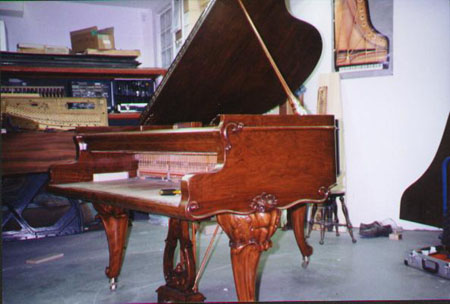
Beautiful Heintzman grand in
the rebuilding stage
Stripped
and sanded
Finished
ready to be shipped
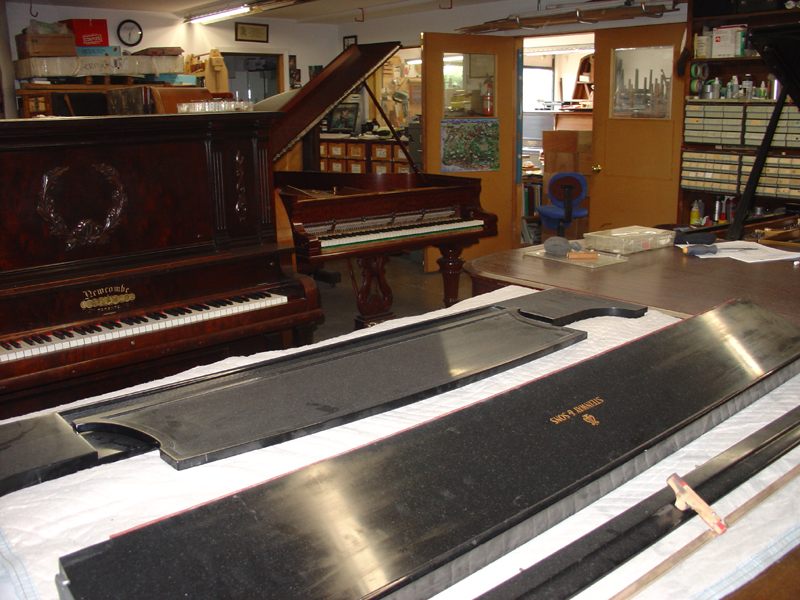
BELOW ARE PICTURES
OF A SOUND BOARD INSTALLATION FOR A 1898 9' STEINWAY & SONS
GRAND PIANO